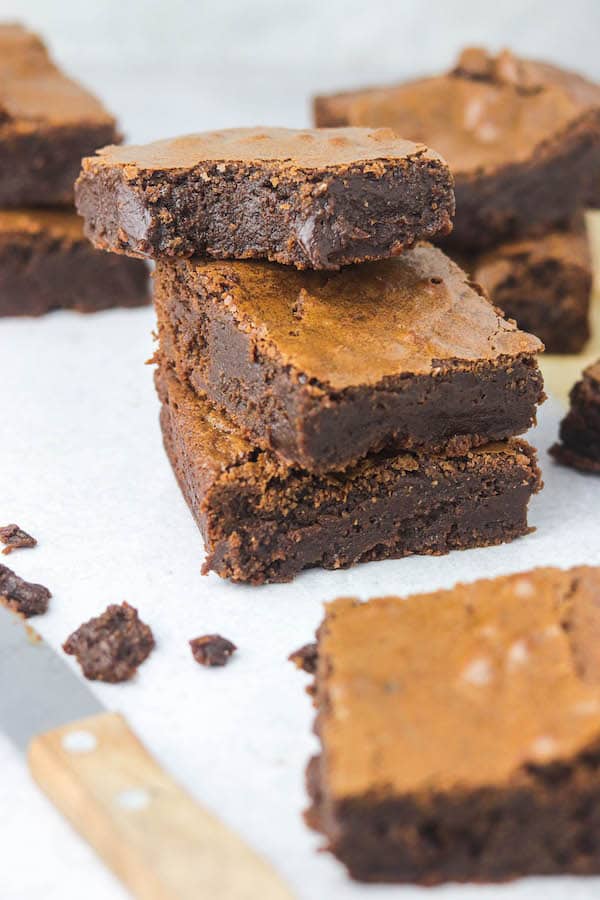
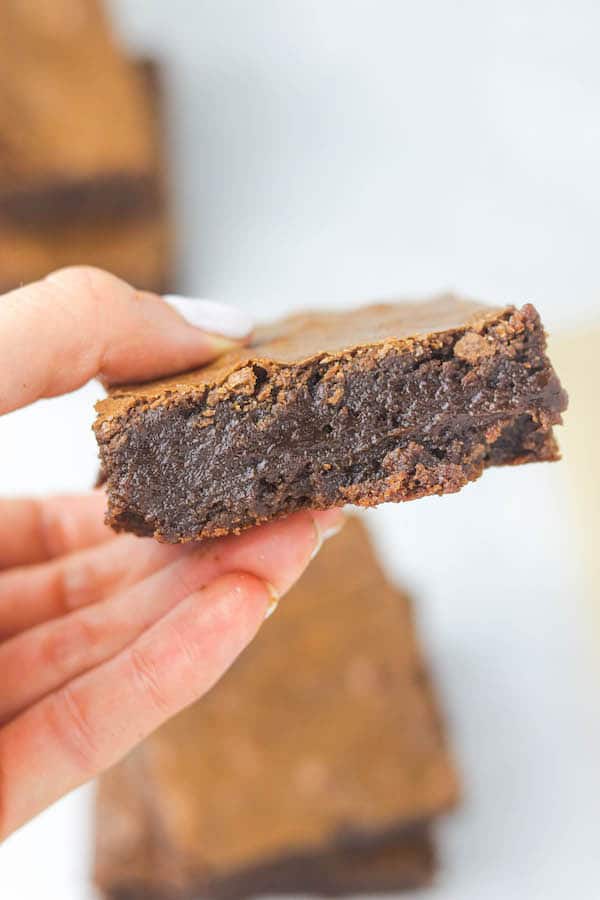
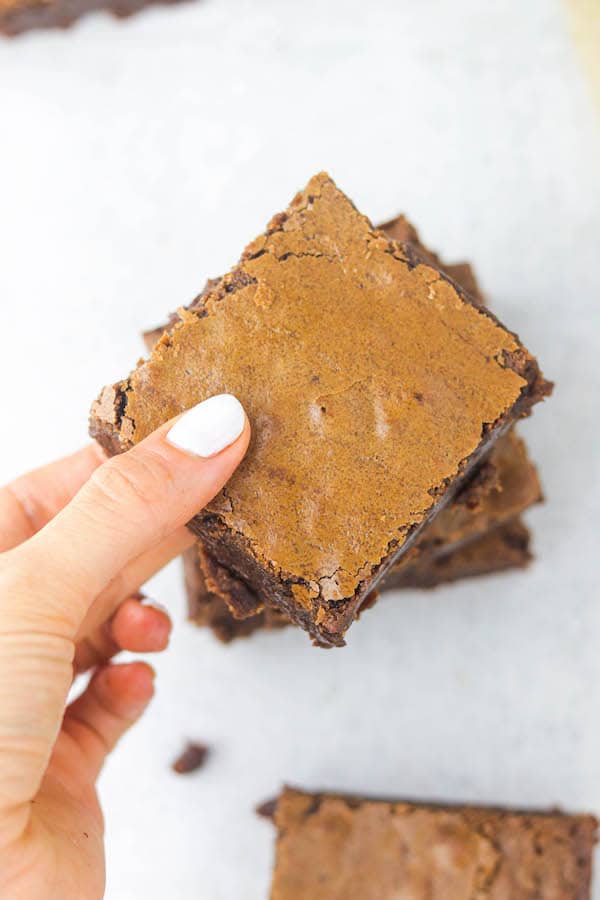
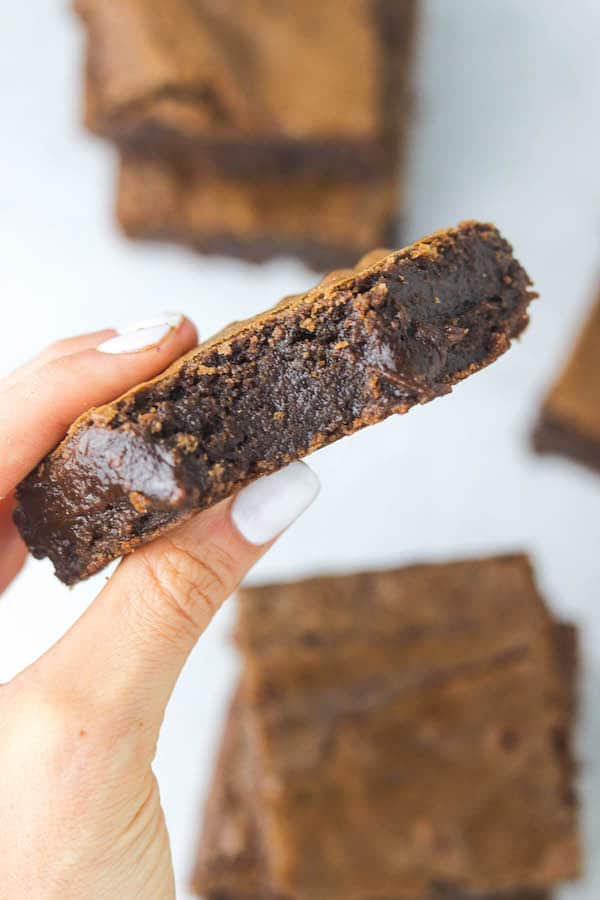
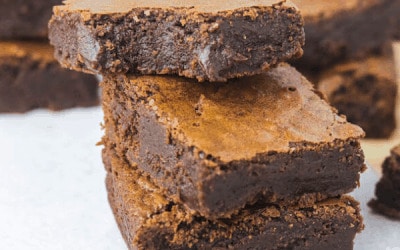
Insanely fudgey on the inside with the perfectly rich chocolatey flavor, these are the most UNREAL bakery brownies! I almost called these “marry me brownies” because after one bite that is what I wanted to say to them.
Most women my age might think about their future families and spend hours thinking of the perfect trendy-yet-classic names, or envision themselves buying cute little bows to put on their heads. Me? I spend my time day dreaming about what I’ll bring to their bake sales.
I’ve always said that when I put a brownie recipe into the world I want it to be THE brownie recipe. The brownie recipe that you bring to a bake sale or work potluck and everyone basically falls over with sheer joy after one bite. So, I set out to create that drop-dead-delicious recipe. It took me MONTHS or trial and error. Months of research and learning to fix my brownie mistakes. But…. I GOT IT! And that’s what I’m sharing with you today. Could I BE more excited?! (Yes, I went Chandler Bing on you!) The answer is no. No I could not.
You could even take these babies up an extra notch and use this as the base for my chocolate covered strawberry brownies recipe! MIND. BLOWN.
What Makes These The BEST Bakery Brownies
There are a couple reasons that make this bakery brownie recipe SO GOOD. Like, better than the rest. Here they are:
- The cooling process. I’ve found the very particular way to make these brownies insanely fudgey without being over or under cooked. And the secret is allowing the melted chocolate mixture cool before adding the eggs.
- Using temperature eggs. This makes a WORLD of difference. I’m all about specific temps in this recipe!
- Adding instant coffee. Yep, coffee. You won’t taste a coffee flavor in your brownies, however it will really bring out the depth of the chocolate flavor!
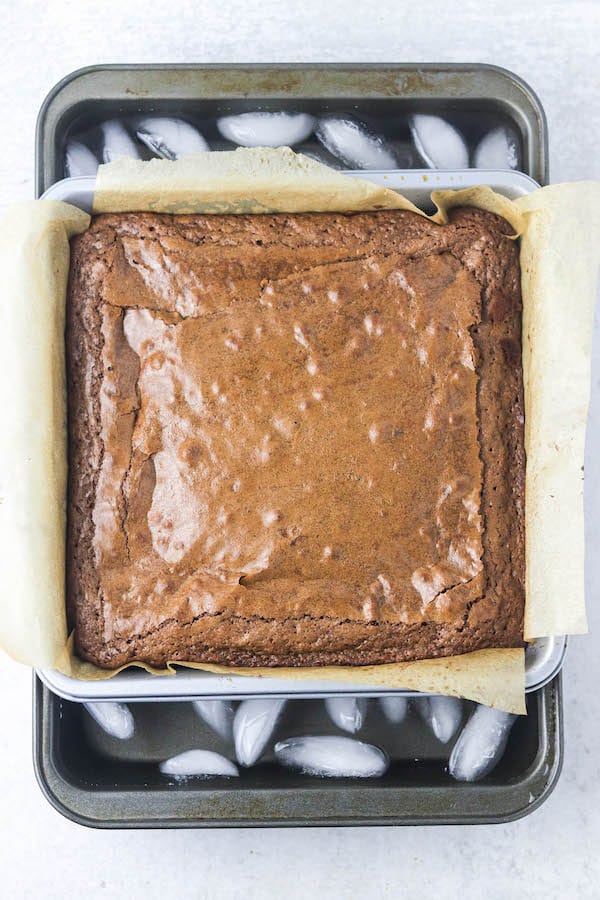
- Using an ice bath. Once you take these bakery style brownies out of the oven you’ll immediately put them in an ice bath. This stops the cooking process and allows them to fudge-ify (new word I made up). The prevents the dreaded experience of cutting into a brownie and having it be straight mush inside.
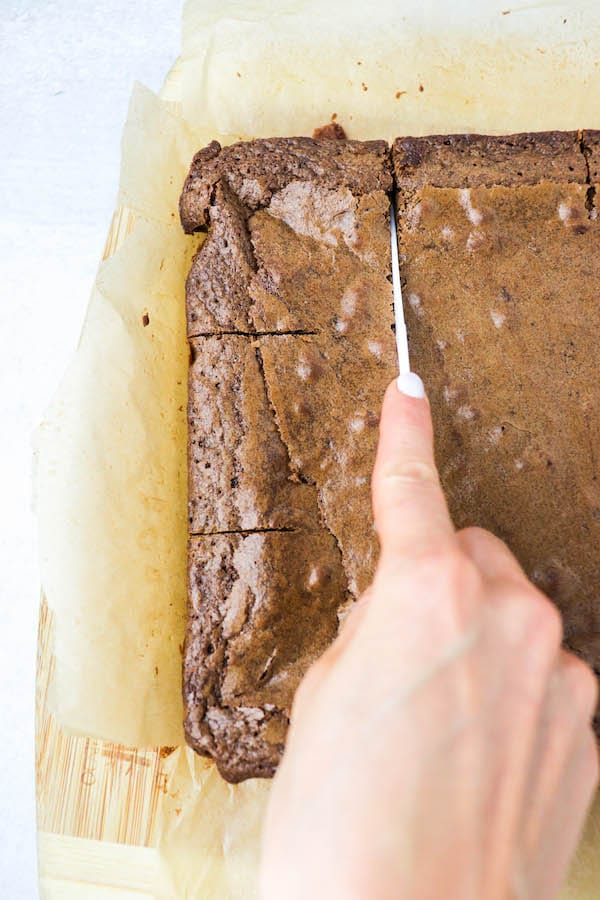
- The cutting process. We want our brownies to be pretty, right? Just like those bakery brownies at the local bake shop? The secret is in using a parchment paper “sling”, which I’ll show you how to do, but also in the way that you cut them. This is a key kitchen tip. I first make my cutting marks with a sharp serrated knife, then use a PLASTIC knife to cut them. Yes, a plastic knife. Trust me on this.
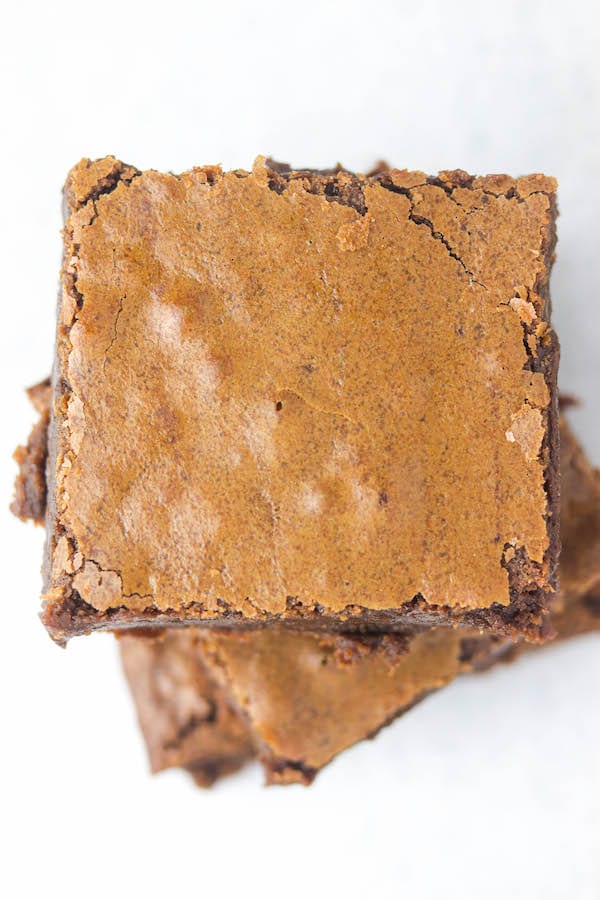
Additionally, these bakery style brownies use a lot of butter and sugar, which makes them freaking fabulous, let’s be honest. I’ll tell you right now if you’re looking for a recipe that touts that it is “healthier”, this probs ain’t for you. (Plus, you guys know my stance on food. Nothing is healthy or unhealthy. It’s just food. Let’s not label it. It all fits.)
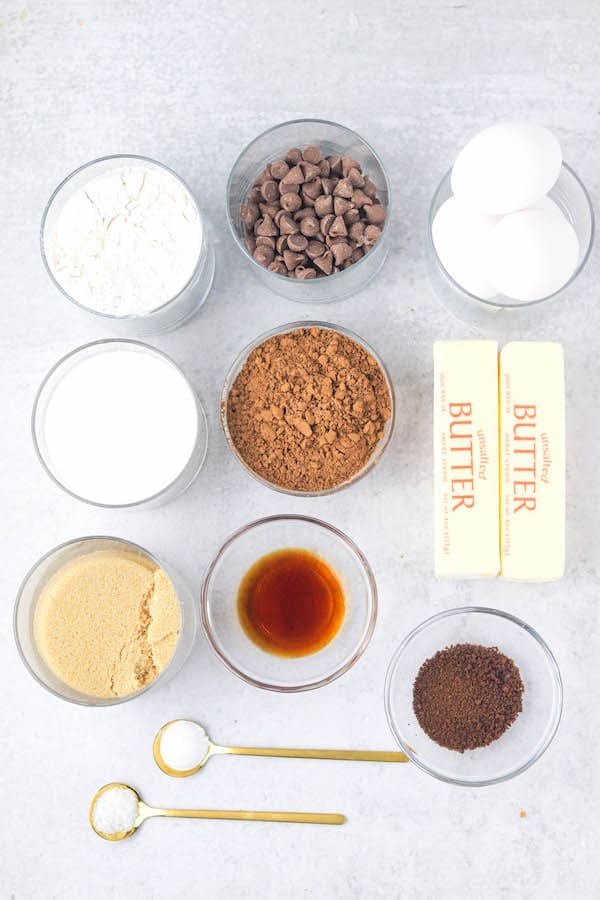
How To Make These Bakery Style Brownies
First, you’re going to want to set your eggs out to allow them to come to room temperature, very important.
Then you want to preheat your oven to 350 degrees and prepare your baking pan. Take a 9×9 baking pan, spray it with non-stick spray, then make a “sling” with parchment paper. To do this, cut parchment paper into about 9’x14′ pieces and lay one one direction, and one the other. Then, spray again with non-stick spray, this time over the parchment paper. Here is what it should look like:
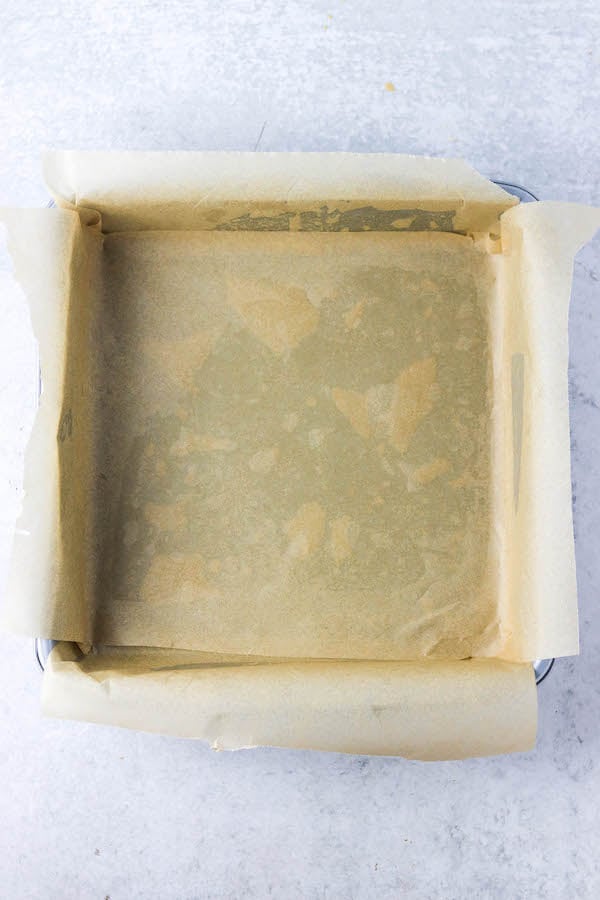
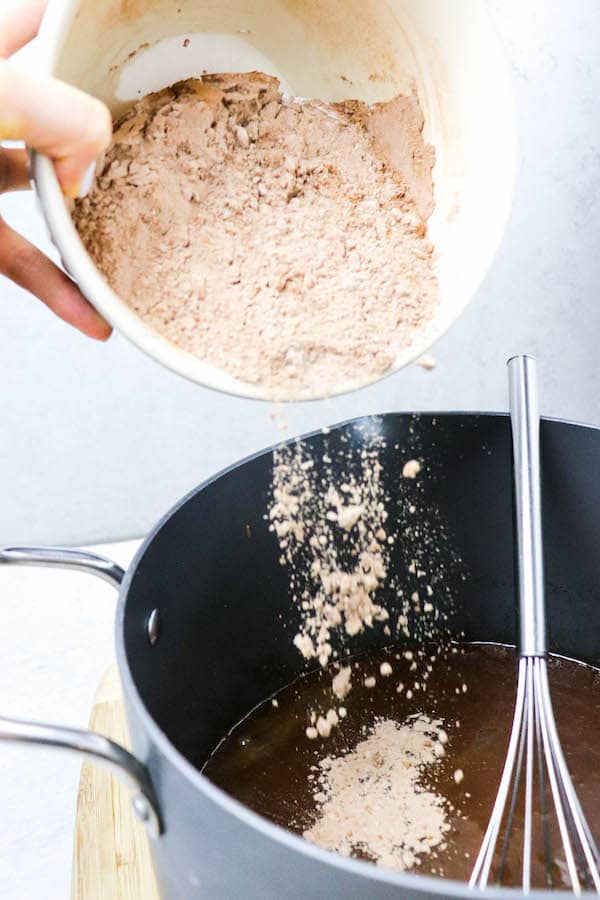
Now, in a medium sized bowl you’re going to combine all of your dry ingredients. That is the cocoa powder, flour, instant coffee, baking powder and salt. Then, set that aside.
In a large pot over the stove, melt together the butter and sugars until it is all melted and uniform, you don’t see any sugar crystals. Stir this frequently throughout.
The, remove from heat and add in the chocolate chips and vanilla. Stir continuously. Then, allow this to cool to room temperature. This is key. Otherwise when you add the eggs you’ll literally be making scrambled chocolate eggs. Gross.
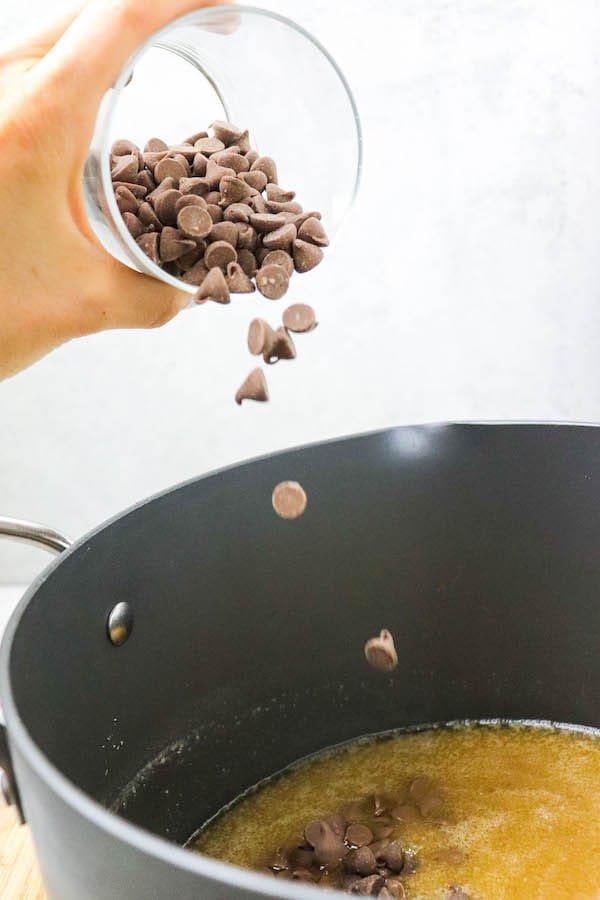
Once the chocolate mix is room temperature fold in your eggs. DO NOT BEAT. Do not over mix. This is key. If you over mix your brownies will sink. Be gentle. It’s okay if you see a few streaks of egg.
Now, add in your dry ingredients and fold. Again, be gentle. Try about 30-40 stirs. It’s okay if there are a few lumps in it. Again, don’t over mix or your brownies will sink.
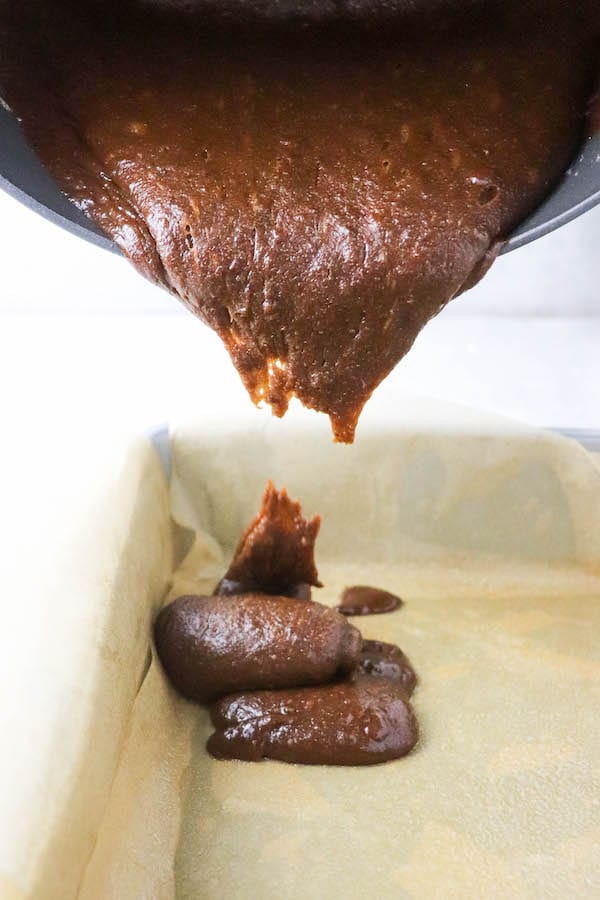
Pour your batter into your prepared baking pan and cook for 40 minutes. You’ll know when they’re done because you will start to see the top crack. Remove them from the oven when you see this crack from, that is the sign that they’re done.
While your brownies are baking you can create the ice bath for them. Take a larger baking pan, like a 13×9 and fill it 1/3 of the way with ice cold water then add ice to get it 2/3 of the way full.
When brownies are done place them in the ice bath immediately and allow them to cool FULLY. They MUST be totally cooled before cutting. I usually wait 4-5 hours at least. If you don’t your brownies will be ugly when you cut them, just being honest here!
To cut your brownies make 3 “tick marks” on all sides. You’ll be cutting your brownies in 9 giant brownies for those bakery style brownies. If you want to do 4 tick marks you can to yield smaller brownies. Totally fine. Then, use a plastic knife to connect the tick marks. Go slow if you want to get those really clean cut lines!
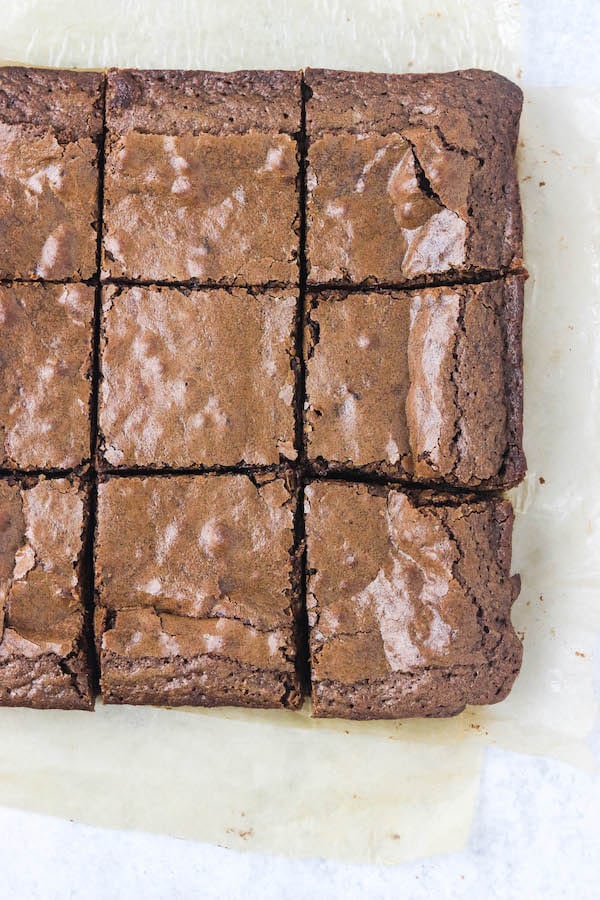
Now…. EAT! And try not to fall over and profess your love to these brownies!
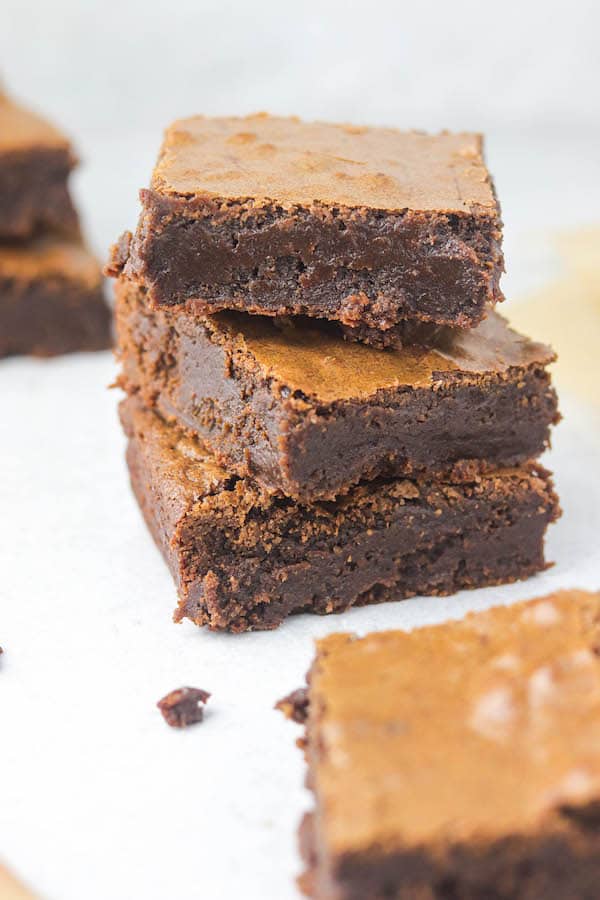
Best Ever Bakery Brownies FAQ’s
Can I use another kind of flour?
You can totally sub whole wheat flour to make these whole wheat brownies or gluten free flour to make these gluten free brownies. The texture might be a touch different, but they should work. I have not tested the recipe with other flours like almond or coconut flour.
What kind of chocolate can I use?
For the chocolate feel free to use milk or dark chocolate! I like to use milk chocolate chips, but semi-sweet or dark chocolate will also work.
How do I store these bakery style brownies?
Okay, pro-tip here? Store them in an air tight container with a slice of bread in there. This will help them stay nice and fudgey! You can keep them on the counter for 5-7 days (if that last that long!) or throw them in the freezer for 2-3 months.
I hope you LOVE this recipe as much as I do. I almost thought I died and went to heaven when I took the first bite!
If you like this recipe I’d really love if you gave it a star rating on the recipe card and left me a comment letting me know!
Happy eating!
XOXO
-Colleen
Best Ever Bakery Brownies
Ingredients
- 1 cup all-purpose flour
- 1/2 cups cocoa powder unsweetened
- 1/2 tsp baking powder
- 1/4 teaspoon salt
- 1 tbsp instant coffee
- 1 cup butter
- 1 cup sugar
- 1 cup brown sugar
- 3/4 cups milk chocolate chocolate chips
- 2 tsp vanilla extract
- 4 large eggs room temperature
Instructions
- Preheat oven to 350 degrees and prepare your baking dish by lightly spraying with non-stick spray, then lining with 2 pieces of parchment paper to create a "sling" (You will cross these over each other) and then spray again lightly with non-stick spray.
- In a medium sized bowl combine the flour, cocoa powder, baking powder, instant coffee and salt. Set aside.
- In a large pot, melt together the sugars and butter, stirring continuously. You want the sugar crystals to be as fully dissolved as possible.
- Remove from heat and stir in the chocolate chips and vanilla extract. Continue to stir until chocolate chips are fully melted. Allow for this to cool until room temperature.
- Once your chocolate mixture is room temperature, fold in your eggs until just combined. Do this gently and be sure to not over mix!
- Now, slowly fold in your flour mixture only until just combined. This should be 30-40 folds. It's okay if your batter is a touch lumpy, be careful not to over mix!
- Now, pour your batter into your prepared baking dish and bake for 35-40 minutes. The brownies are done when the top begins to crack.
- While the brownies are baking prepare your ice bath and taking large pan (such as 13 x9) and filling 2/3 of the way with a mix of ice old water and ice.
- Once brownies are done cooking immediately place them in .the ice bath to cool. Allow brownies to cool for at least 3-5 hours before cutting, ideally.
- To cut the brownies first remove them from the pan by lifting then up with the parchment paper and placing them on a cutting board. Then, create "notches" with a very sharp knife, splitting each side into 3rds. The, use a plastic knife to connect the lines and cut the brownies fully (this helps with clean lines!)
- Dig into the brownies and ENJOY!
Video
Notes
Nutrition Facts
Want more recipes like this one? You might like these!
Small Batch Peanut Butter Cookies
Chocolate Covered Strawberry Brownies


Annie says
Hi! Making this today and super excited but just wanted to let you know that the instant coffee is listed in the ingredients but not in the written instructions. We caught it from the video of where/when to add it.
Thanks!
Colleen says
Updated! Thank you so much for bringing this to my attention!
Allie Davidson says
I don’t have a 9×9 pan is there anything else I can use?
Colleen says
You can use a different size like an 8×8 or 9×11. You’ll need to adjust the cooking time up for smaller pans and down for larger!
Meredith says
I was so excited to make these and, in hindsight, made a major error. I used a glass dish to bake (rookie mistake) and it shattered when I placed it in ice bath. So don’t be like me and bake this in a metal pan 🙂
Colleen says
OH NO!!!!!!!!!!!!!! I hope they still tasted good?!
malina says
these were so good!!! everyone who i had try them loved them!!!! a few people even started me asking me how i made them!! definitely will make again:)