This no-churn cotton candy ice cream is simply the best! Made without a machine with simple steps, this easy ice cream recipe is fully sweetened and colorful! Tasty and delicious for any type of treat.

Why This Recipe Works
Colorful, cheery, and sweet, this creamy no-churn cotton candy ice cream recipe is where it’s at. Whoever knew cotton candy with ice cream could be so incredible!
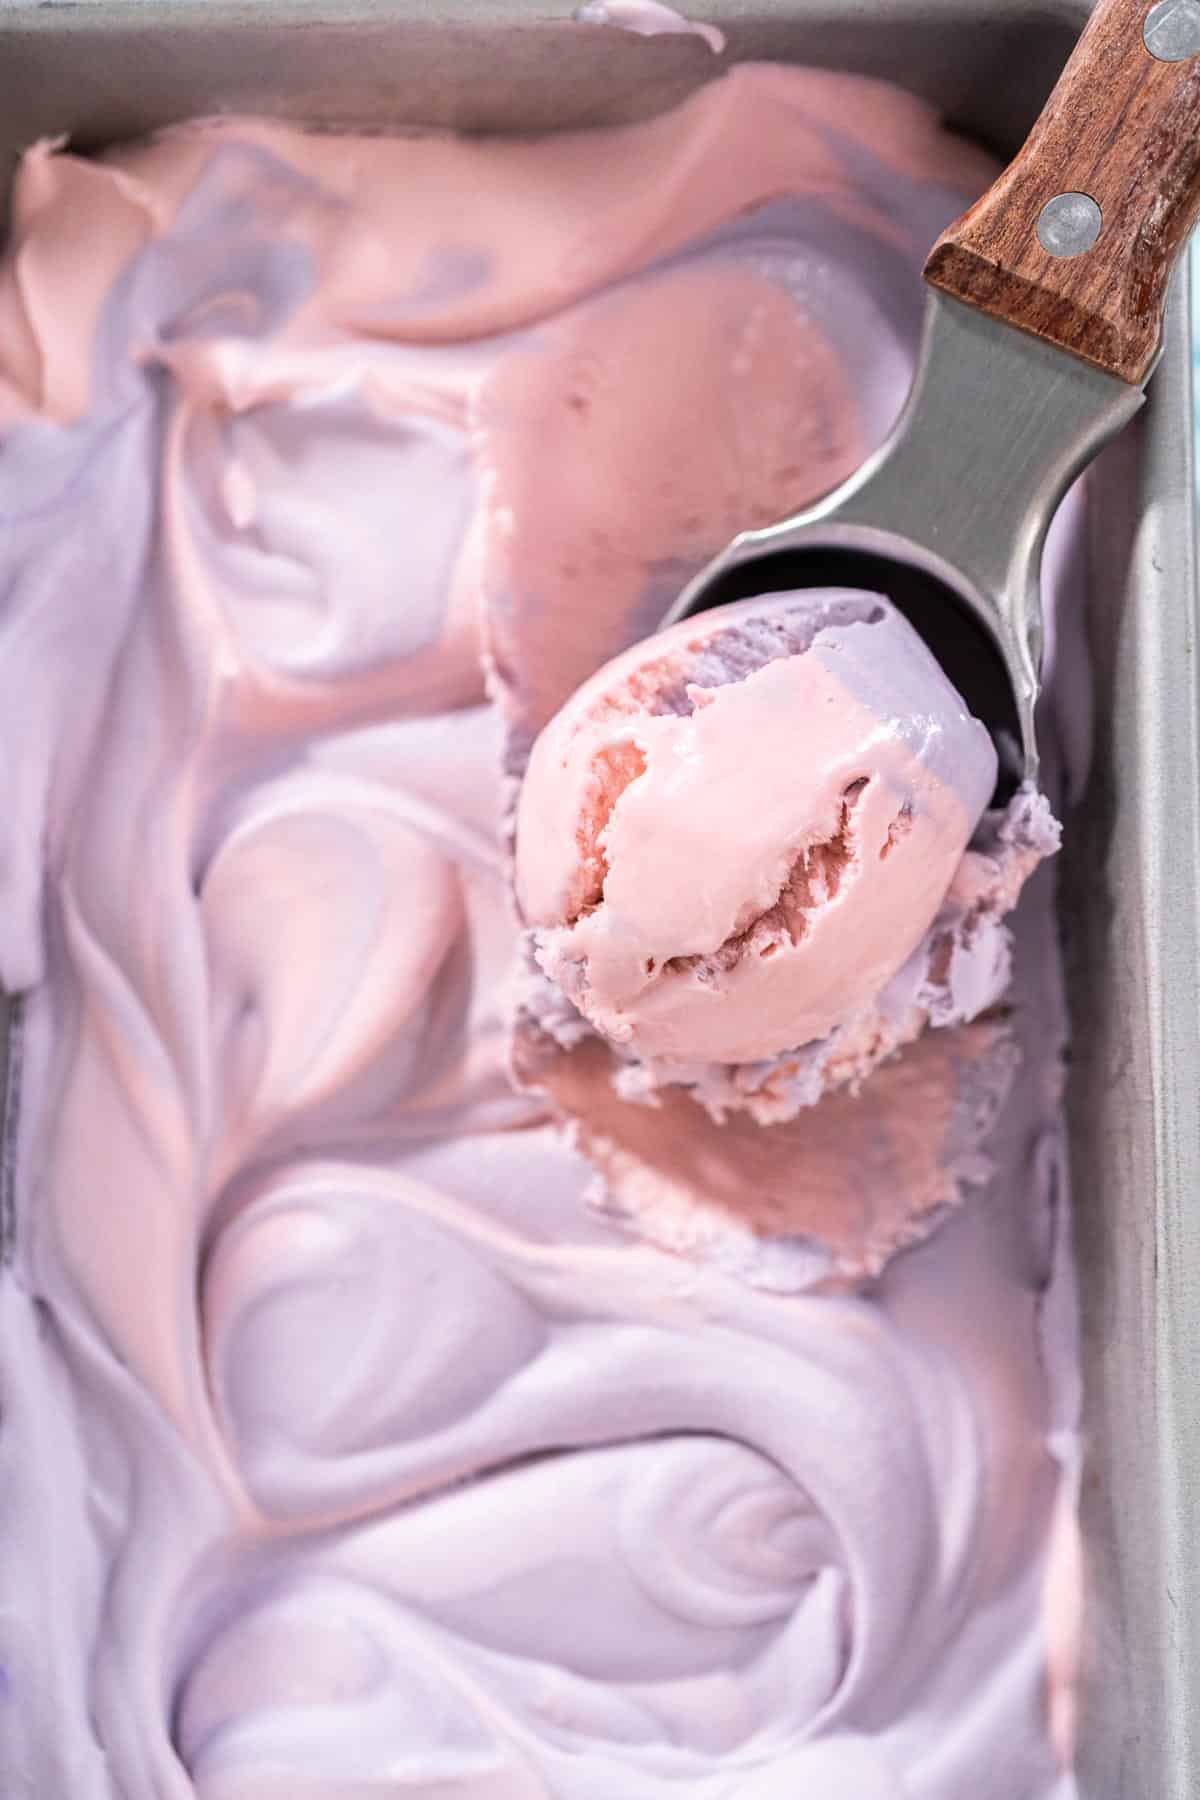
You will love this colorful cold ice cream with delicate cotton candy flavors. Pastel hues of pink and blue encompass this ice cream–what else is there to love?
Whenever you’re in the mood for a sweet ice cream treat, treat yourself to this Blue Bell-style cotton candy ice cream.
So easy to make without a machine, this simple ice cream recipe is perfect to make at home when you just cannot shake the sweet tooth.
Worried about indulging in sweets? No need to worry because our bodies crave what they want when they want–no stress needed. For more information on intuitive eating, be sure to read all about my guide where I dive into the whys and hows.
Ingredients Needed
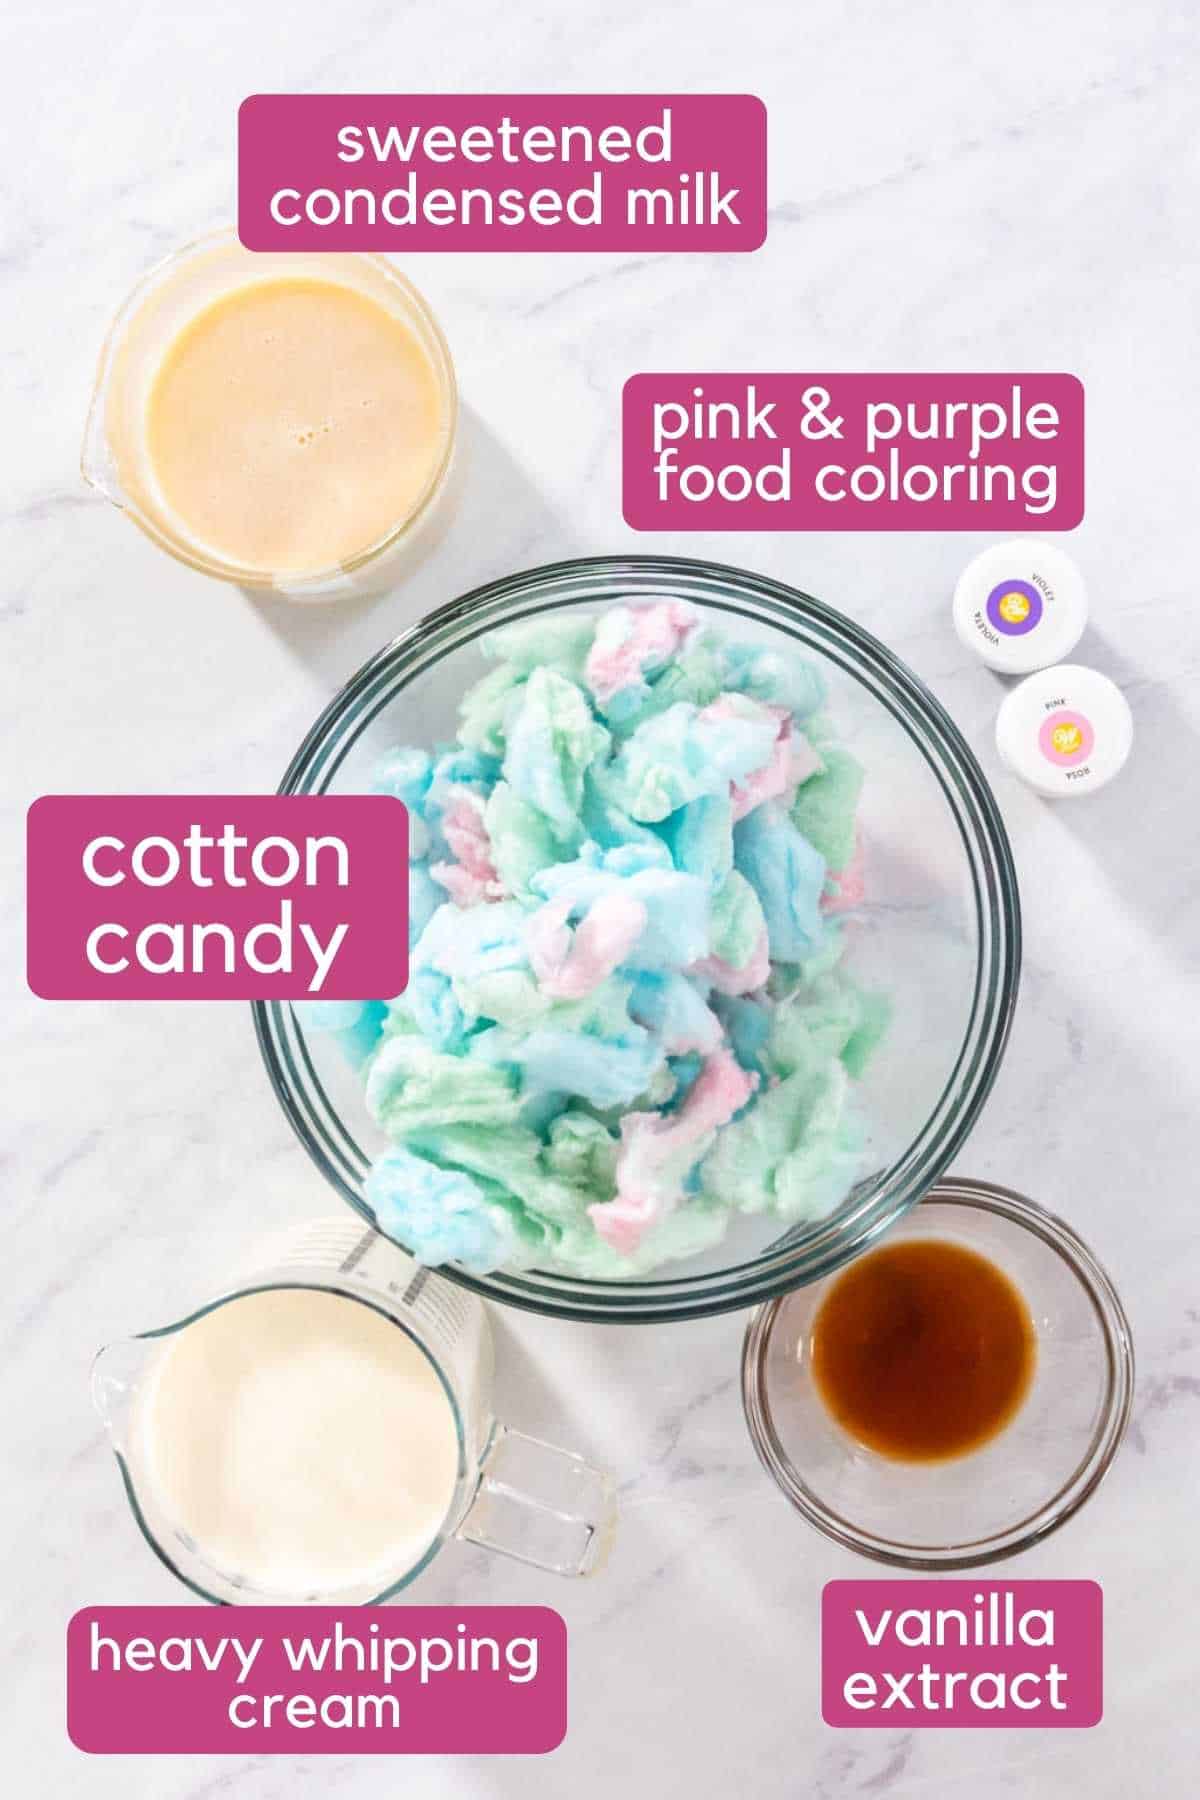
- Heavy Whipping Cream: You will need regular heavy whipping cream to make this the creamiest ice cream recipe you’ve ever had.
- Sweetened Condensed Milk: Sweetened condensed milk is a must for no-churn ice cream recipes. For a dairy-free version, use coconut whipped cream and sweetened condensed coconut cream.
- Vanilla Extract: This ingredient adds a rich flavor of vanilla that is essential.
- Cotton Candy: Ribbons of fluffy cotton candy allow this ice cream to be sweet and festive. Use any type of cotton candy for the sweet flavors.
- Food Coloring: I like to use blue and pink because they are so fun together, but feel free to use any color to fit your needs or holidays.
How to Make This Recipe
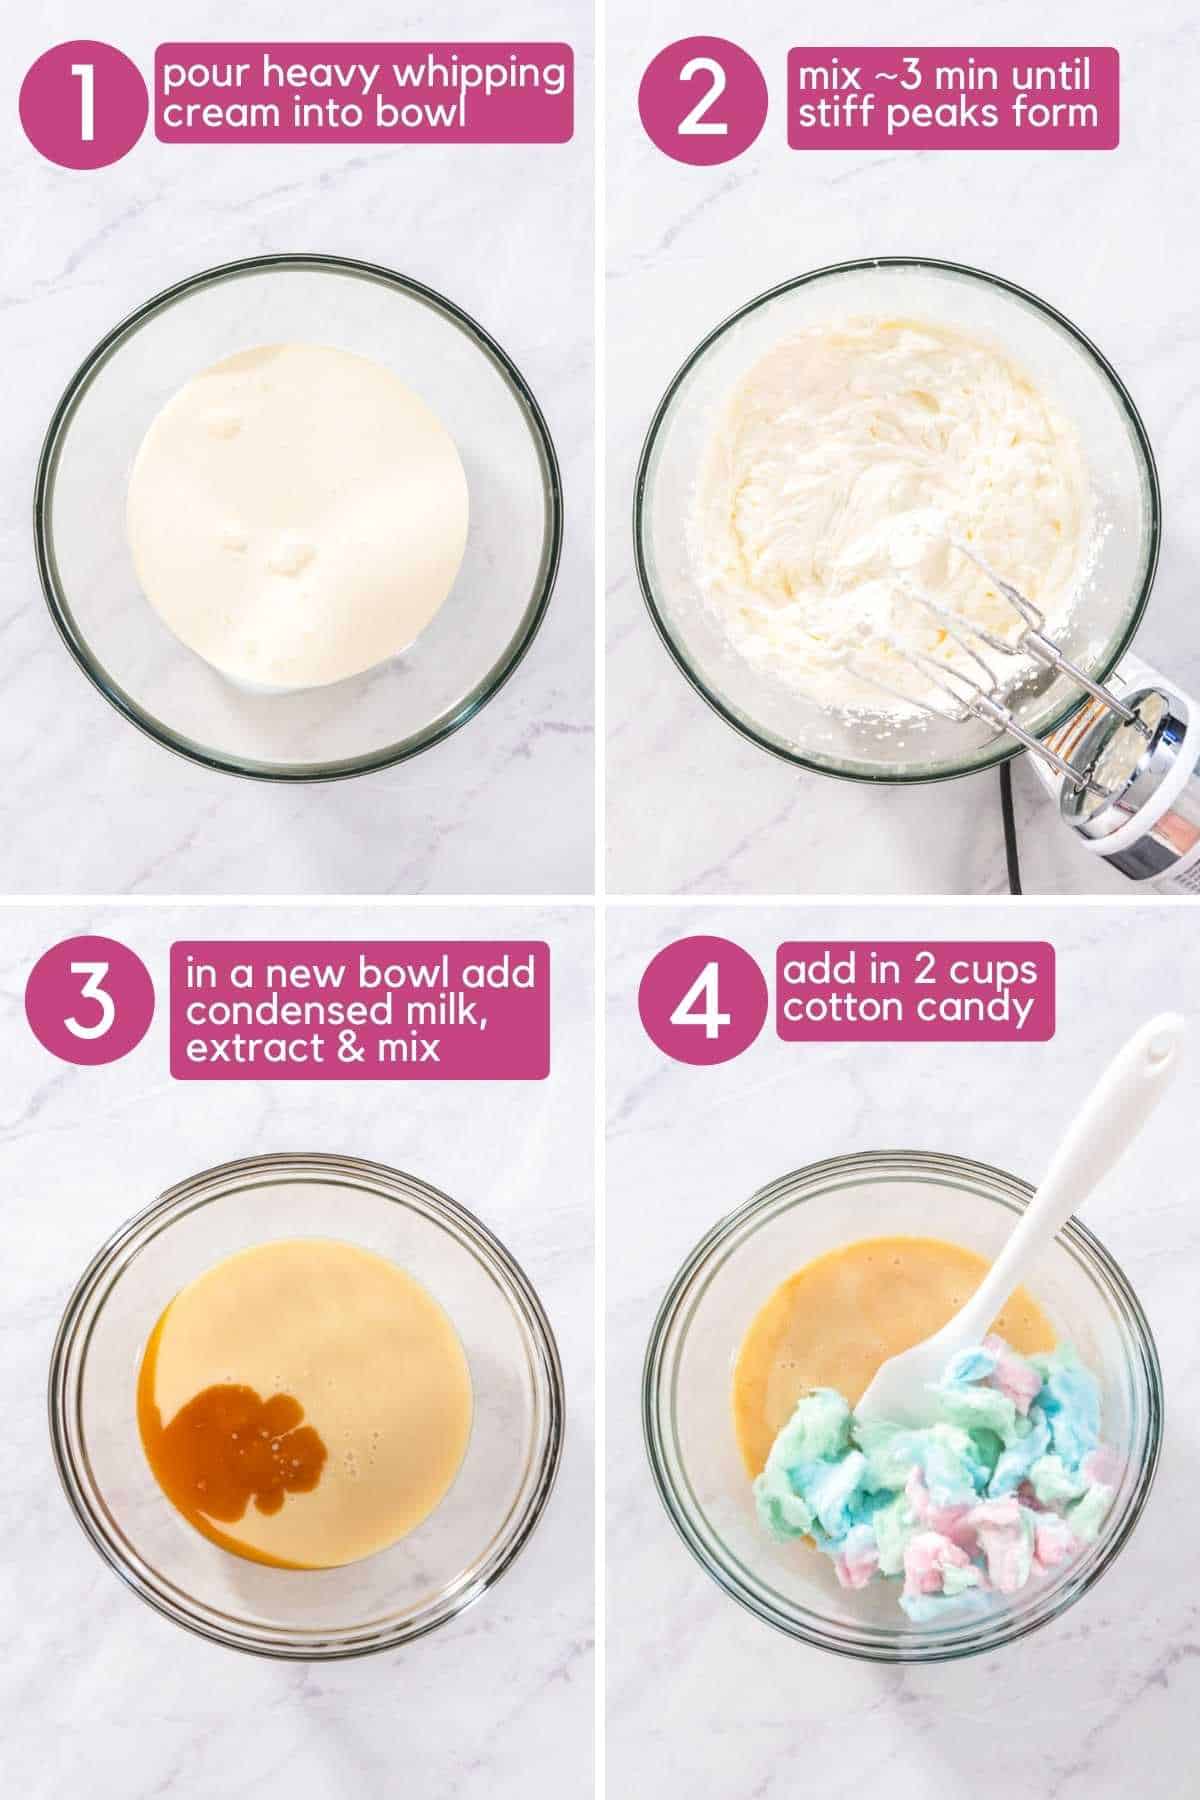
Step One: First, pour the heavy whipping cream into a bowl or stand mixer. Mix the mixture on low, then slowly increase the speed. Mix the whipped cream for at least three minutes until stiff peaks form.
Step Two: In a separate large bowl, combine the sweetened condensed milk, vanilla extract, and some of the cotton candy. Mix everything together very well until the cotton candy dissolves.
No large chunks of cotton candy should be present in the cream. Press the pieces of cotton candy down with a spatula.
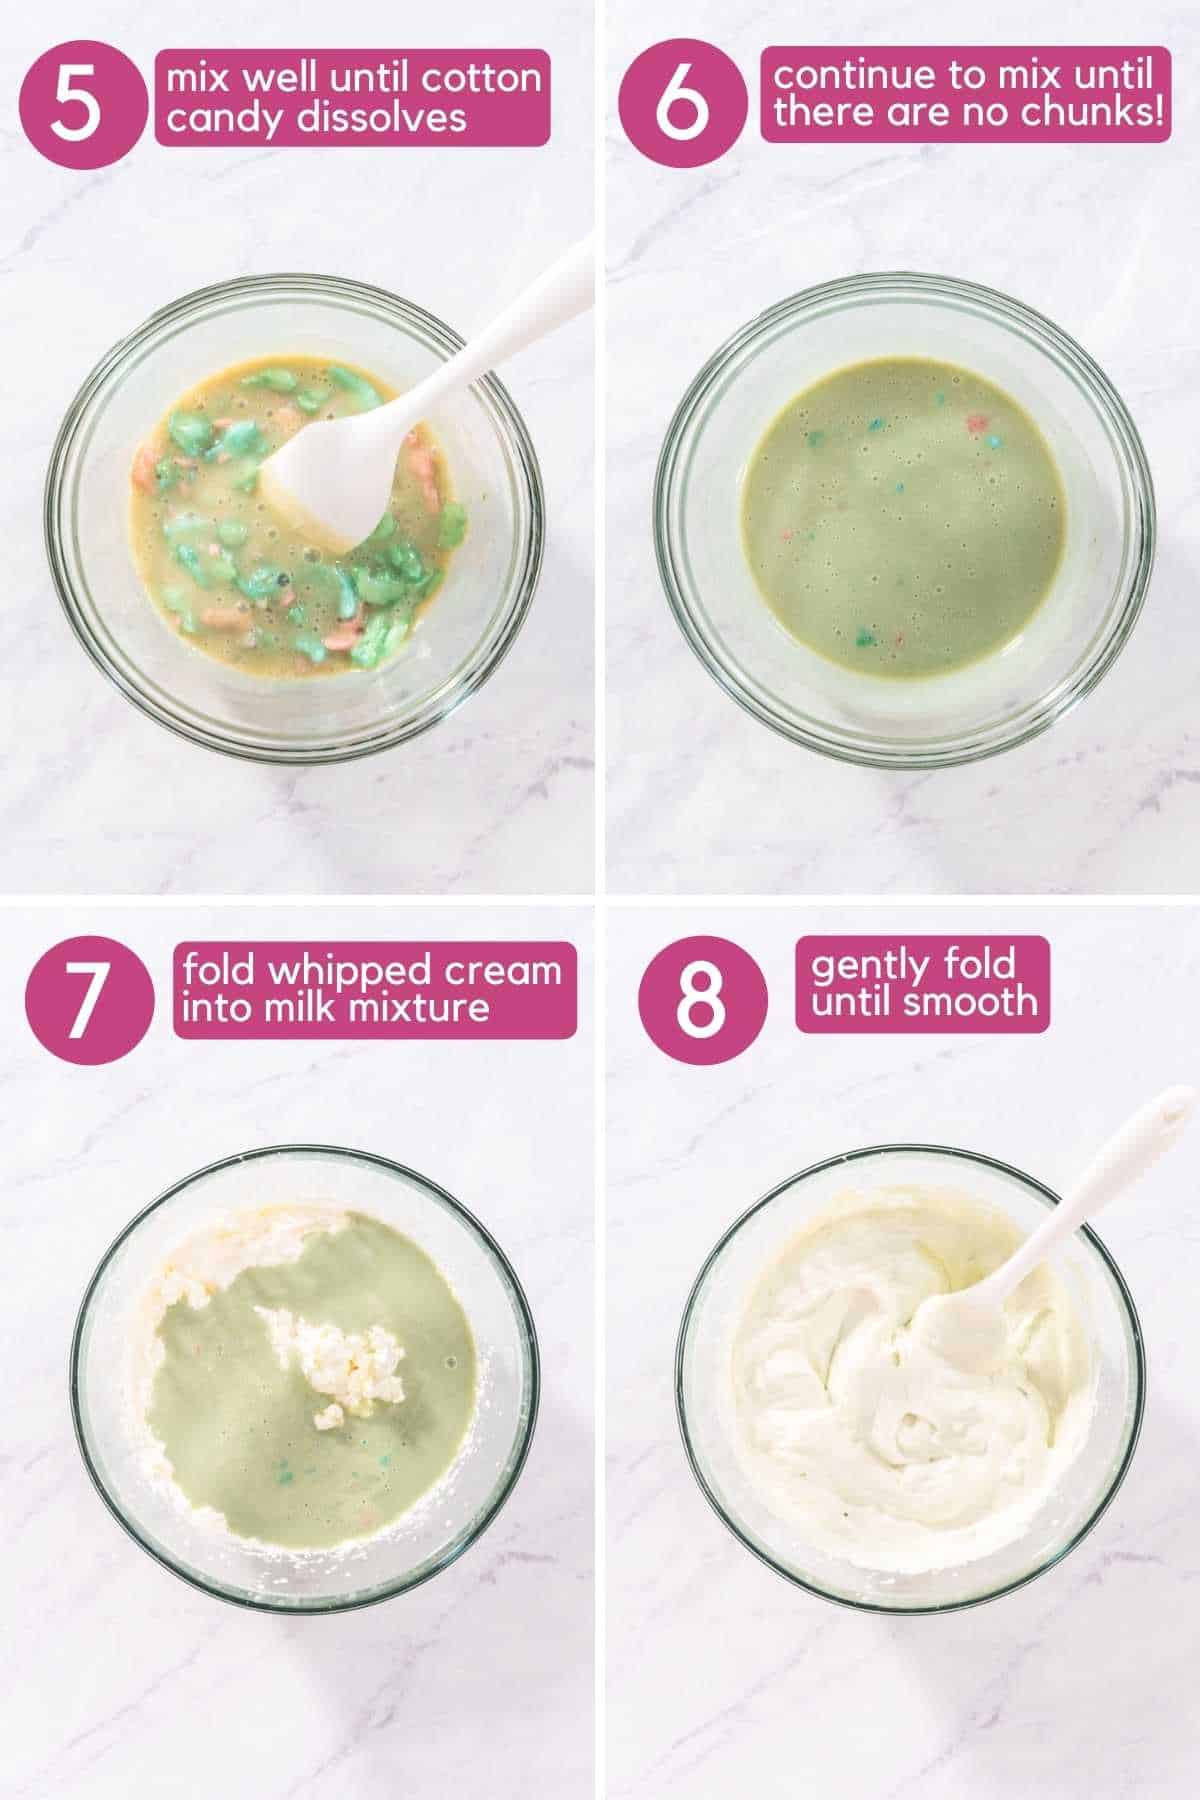
Step Three: Next, gently fold the whipped cream into the sweetened condensed milk mixture. Mix until just incorporated.
Step Four: Divide the ice cream into two bins. Make half of the ice-cream pink and the other half blue with the food coloring.
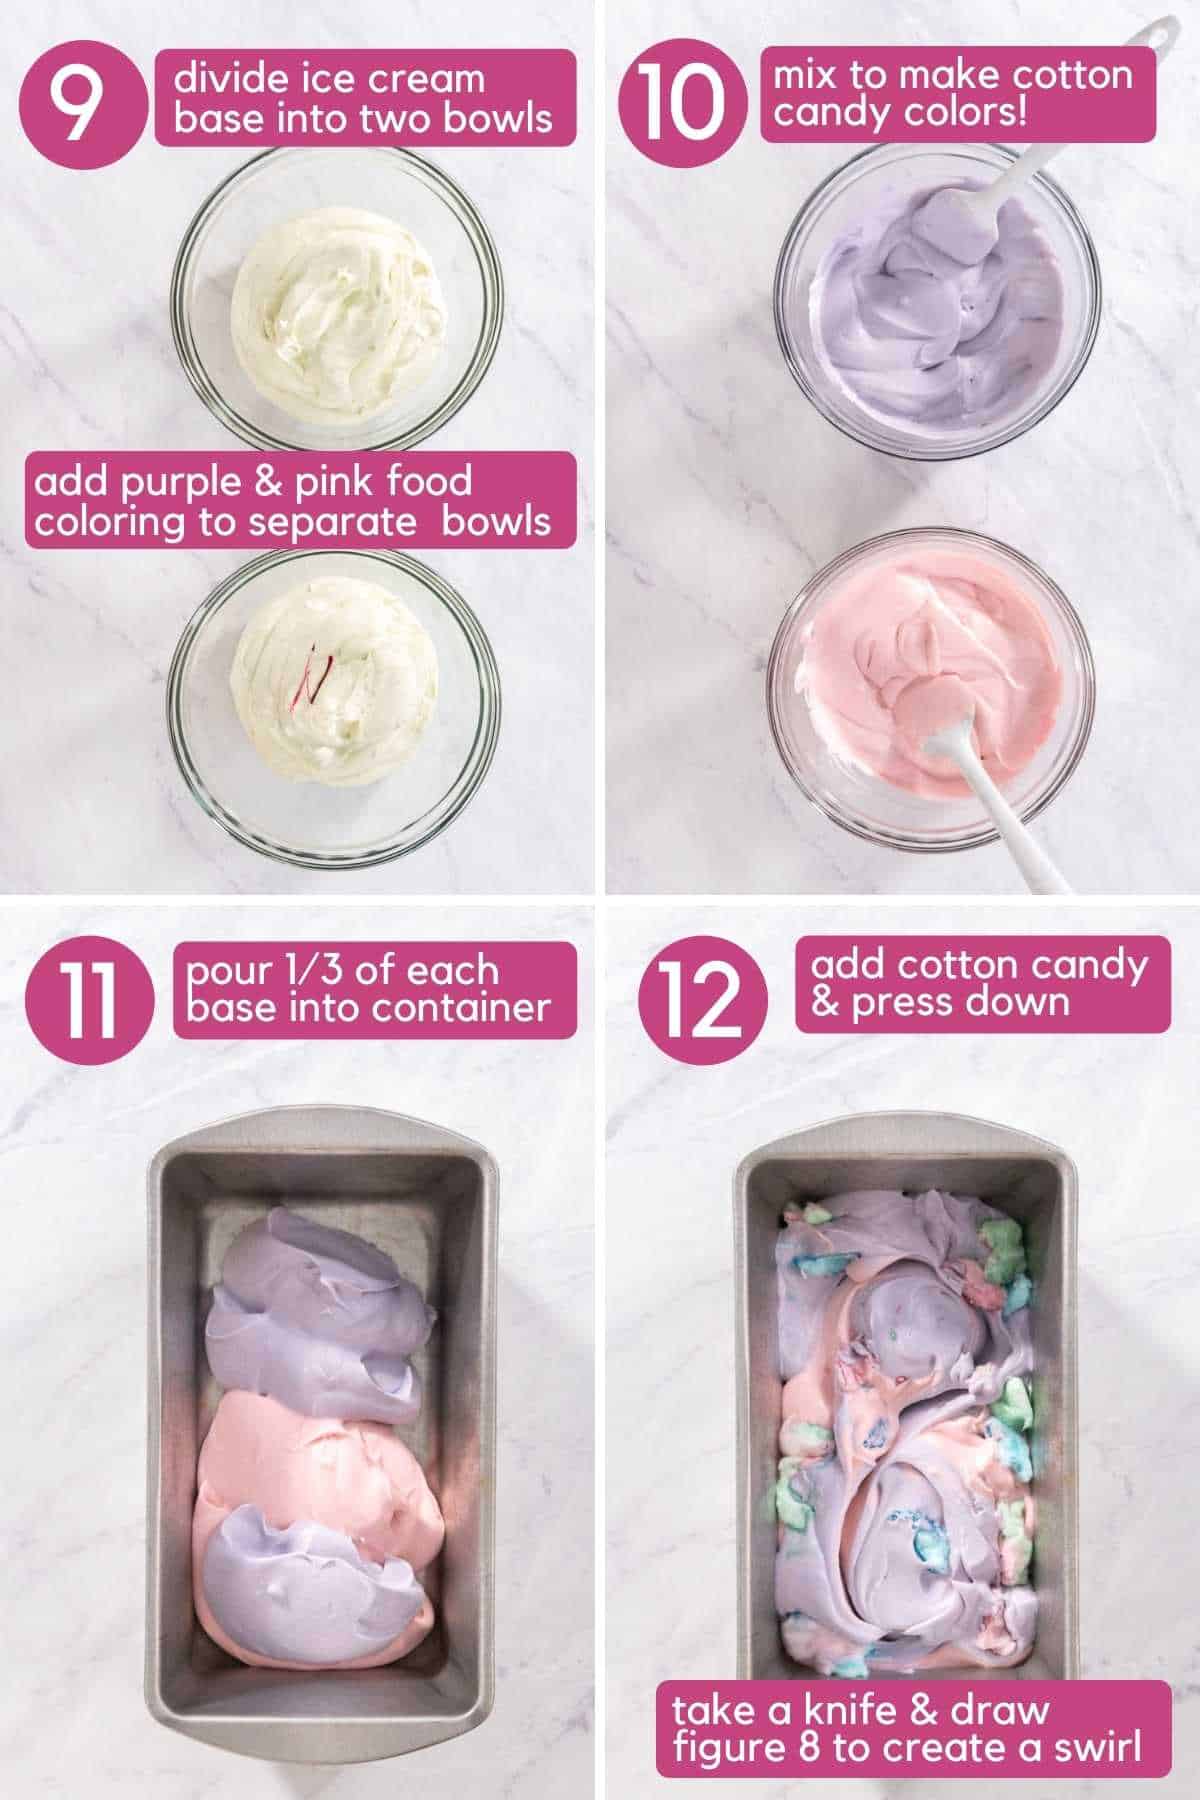
Step Five: Take a loaf bread pan and pour ½ of the pink mixture into the pan, then pour ½ of the purple mixture into the container.
Step Six: Take ½ cup of cotton candy and rip it into small pieces and place it on top of the ice cream. Press the cotton candy down into the base of the ice cream, then swirl a “figure eight” into the ice cream with a butter knife.
Repeat with the remaining ice cream base and cotton candy. When you finish, there should not be any visible pieces of cotton candy and should have a nice swirl of pink and blue.
Step Seven: Place the ice cream in the freezer to harden for six to eight hours.
Step Eight: Serve and enjoy!
EXPERT TIPS
- Store the leftovers in an airtight container in the freezer for up to four months.
- Top the ice cream with crushed graham crackers or cookies for extra flavors and textures.
- Use dairy-free canned coconut cream and sweetened condensed coconut milk for a dairy-free version.
- Use any color of food coloring you would like.
Recipe FAQs
Yes! Cotton candy ice cream exists all over the world specifically at Baskin Robbins. Various ice cream shops frequently have cotton candy flavors on hand.
Sherbert is more tart than sweet and has a different consistency than typical ice cream. Sherbert usually contains less dairy and is usually made with fruit-based ingredients.
Gelato is its own creation meaning that is uses a certain consistency similar to ice cream and frozen yogurt.
If you love this recipe, be sure to leave a star rating on the recipe card and leave a comment below!
Don’t forget to pin it on your Pinterest board for later, or tag me on IG @no.food.rules if you try the recipe and love it!

No Churn Cotton Candy Ice Cream
Ingredients
- 2 cups heavy whipping cream
- 1, 14 ounces can sweetened condensed milk use coconut in the natural food aisle
- 2 teaspoons vanilla
- 3.5 cups cotton candy divided (I found mine at the dollar tree!! You will use ~¾ of a bag)
- Pink and purple food coloring
Instructions
- Pour your heavy whipping cream into a large bowl or stand mixer. Begin to mix on low then slowly increase speed. Mix for ~3 minutes until stiff peaks form and you’ve made whipped cream!
- In a separate large bowl combine sweetened condensed milk, vanilla extract and 2 cups of the cotton candy. Mix this super well, the cotton candy will begin to dissolve. You want this to be as dissolved as possible!!!! No large chunks should be present. I find that kind of pressing the cotton candy pieces down with a spatula can really help.
- Gently fold in your whipped cream to the sweetened condensed milk mixture. Do not stir this vigorously! You don’t want to reduce the air in the whipped cream. Mix this for ~2-3 minutes until totally uniform and no lumps of whipped cream are present.
- Now, take your ice cream base and divide it into two. Make half of it pink and half of it purple with the food coloring.
- Take a ~6+ cup container (a loaf pan works well!) and pour ⅓ of your pink mixture then ⅓ of the purple mixture into the bottom of the container. Then take 1⁄2 cup of cotton candy and rip it into small pieces and place it on top. You’re going to then press the cotton candy down into the base then take a knife and draw a “figure 8” to create a swirl. Repeat with the remaining base + cotton candy. When you finish you shouldn’t see any cotton candy pieces and you should have a nice swirl of purple and pink!
- Place your ice cream into the freezer to harden for 6-8 hours minimum.
- Scoop and enjoy!








Leave a Reply