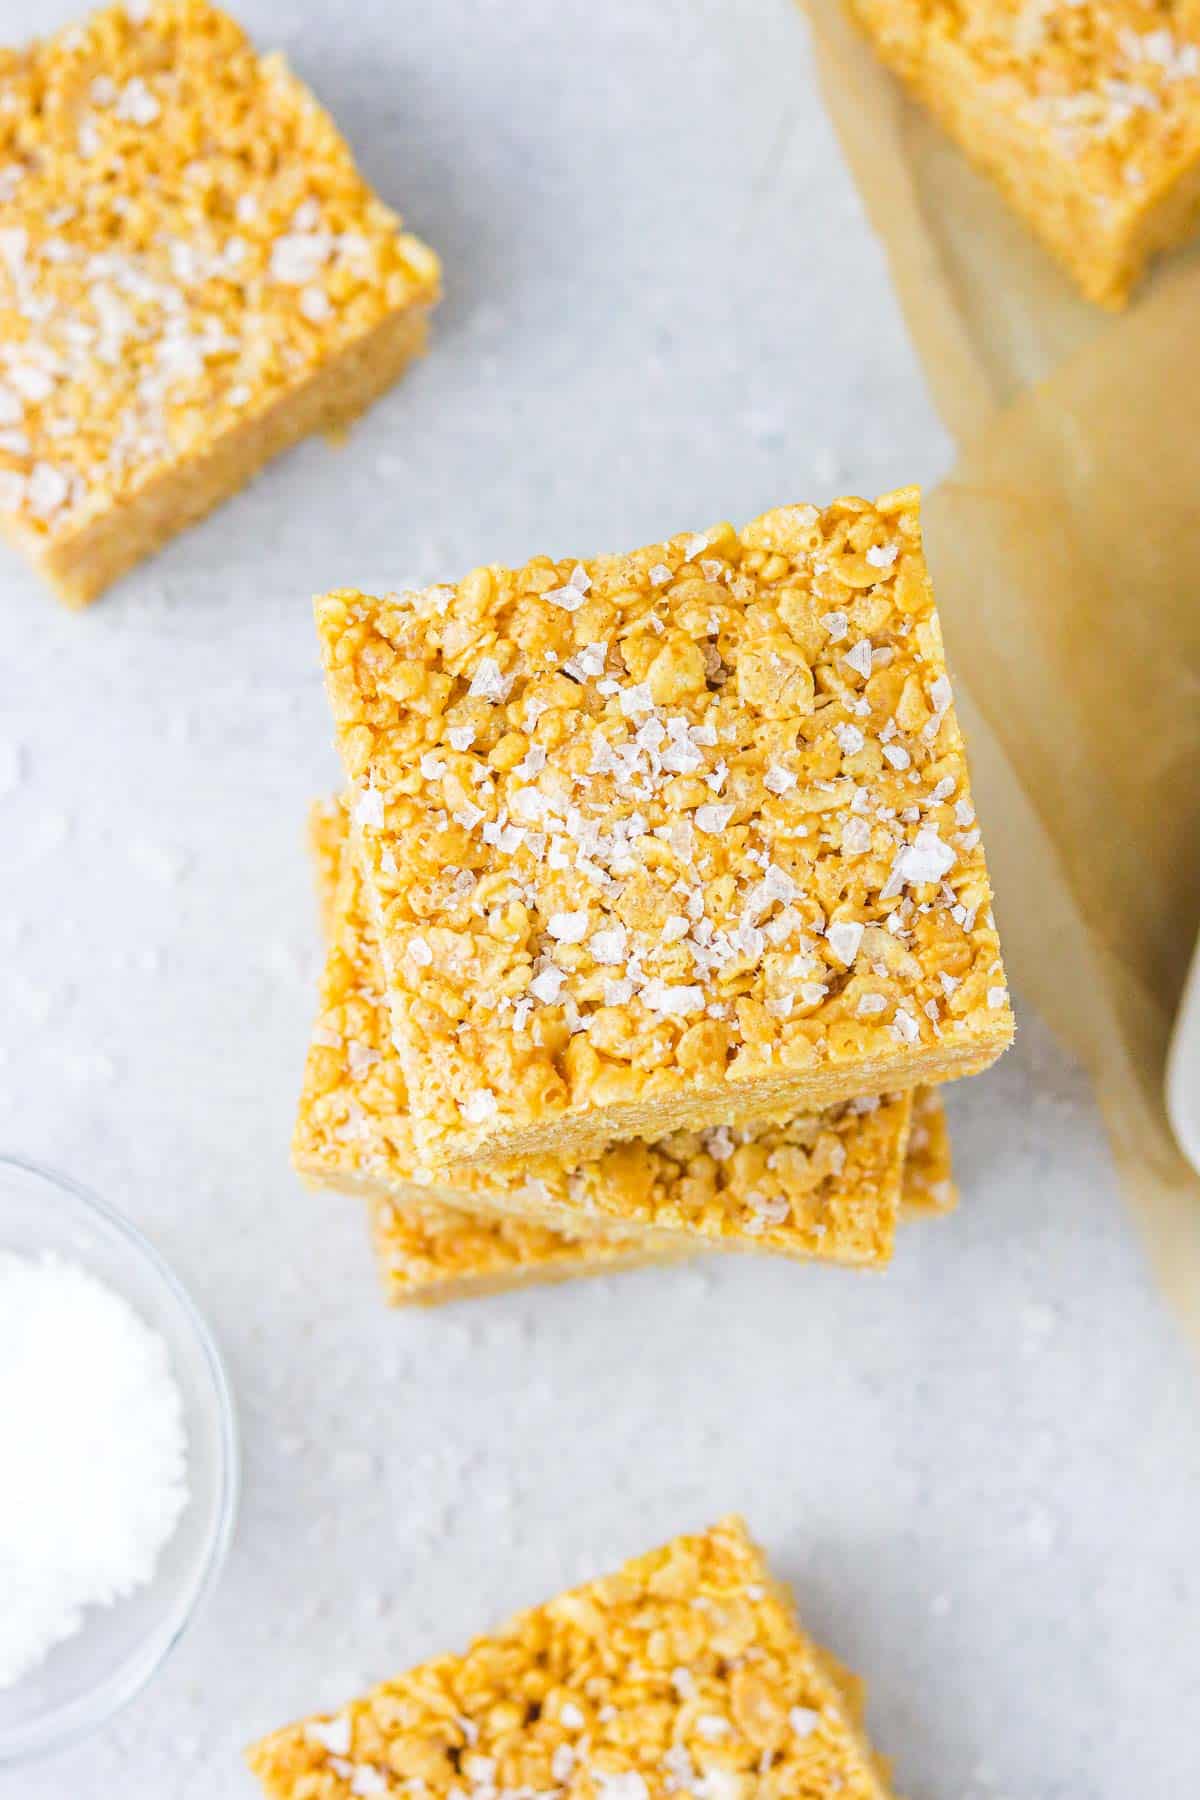
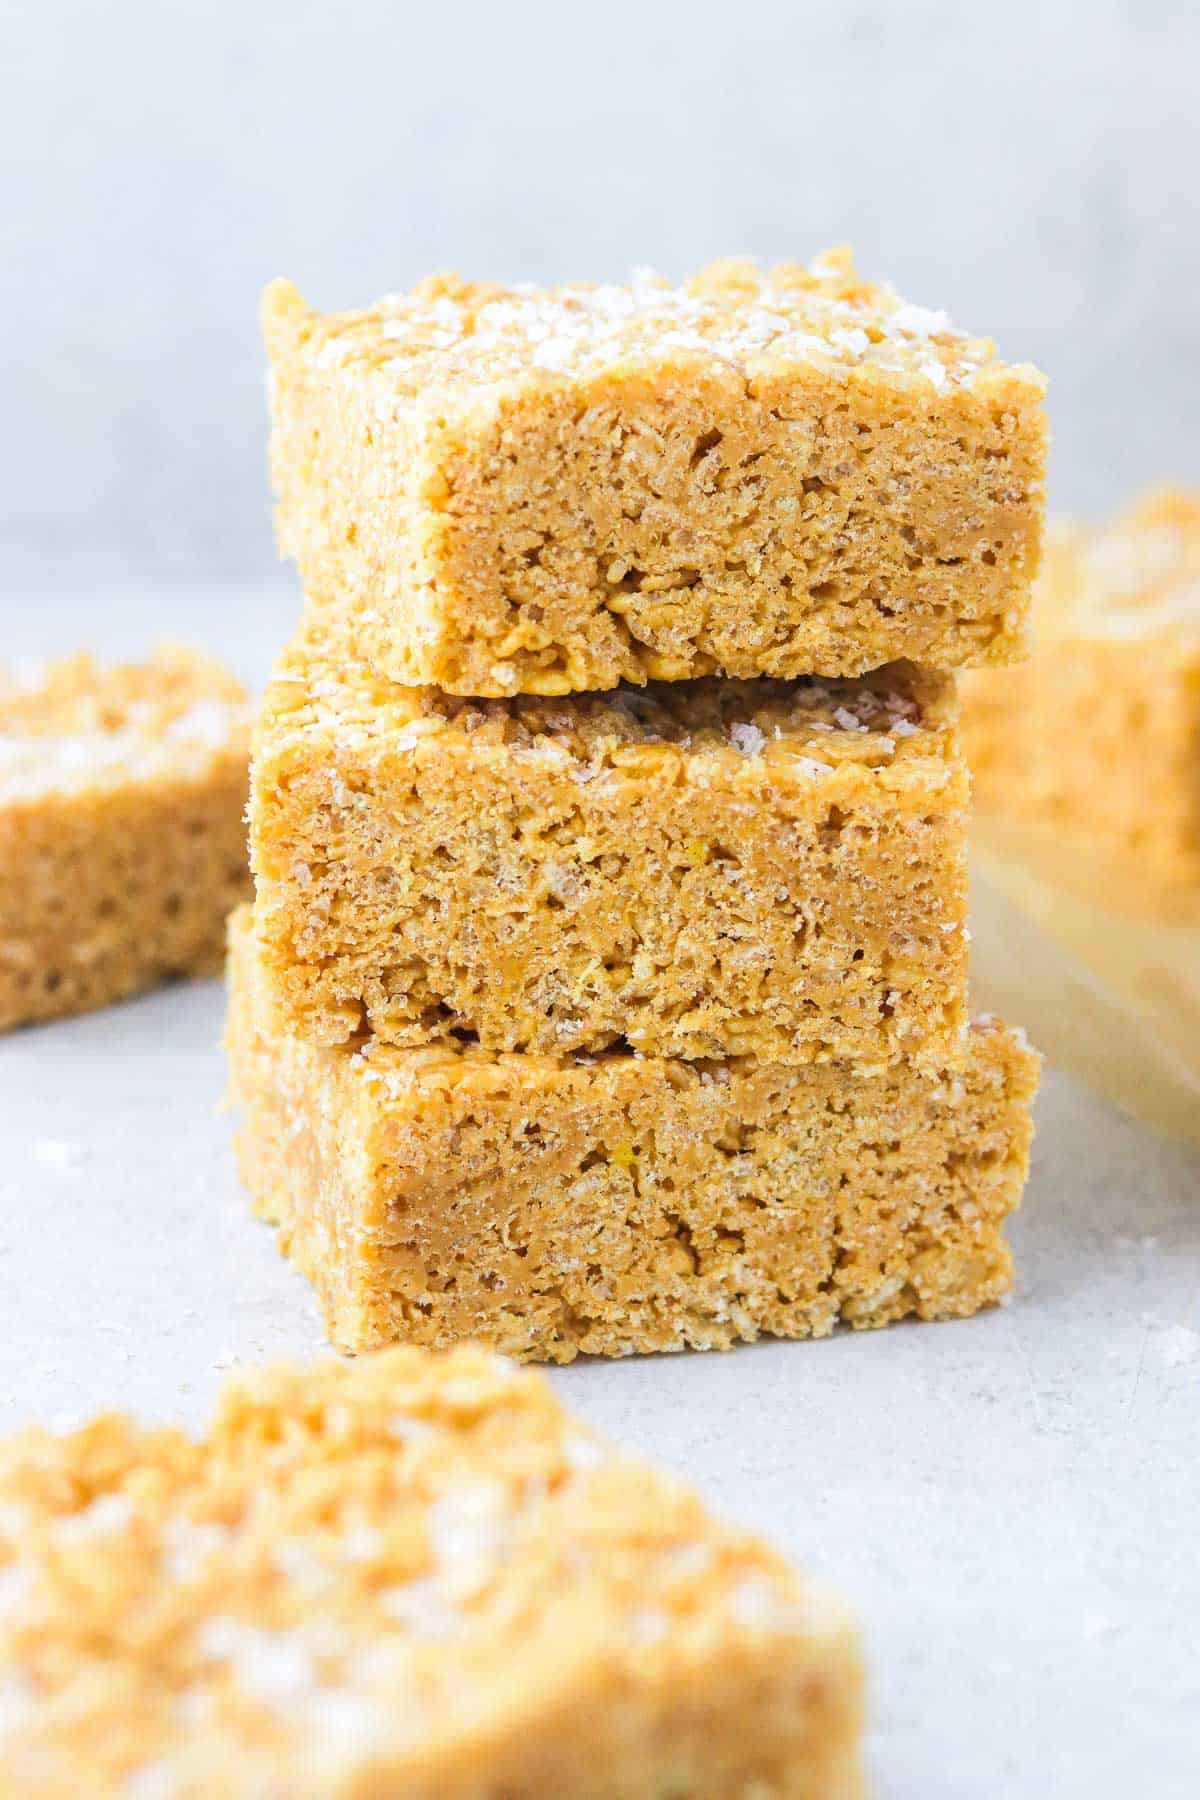
These peanut butter Rice Krispie treats are a classic childhood favorite given a delicious twist that take just 10 minutes to prep! These fuss-free bars are perfect to bring to any occasion since they’re a total crowd pleaser and they travel super well!
Why This Recipe Works
Rice Krispie bars are a classic no-fail treat. And while I totally DO love them sometimes they’re just a little…. boring. Ya know? I mean usually I want a little more flavor, a little more pizazz, a little more interest in my dessert. So… I gave your typical this typical, classic treat a glow-up!
These peanut butter rice krispie bars are the BOMB.COM if I do say so myself. They’re packed with peanut butter-y flavor while still giving you the classic nostalgia of a traditional rice krispie treat.
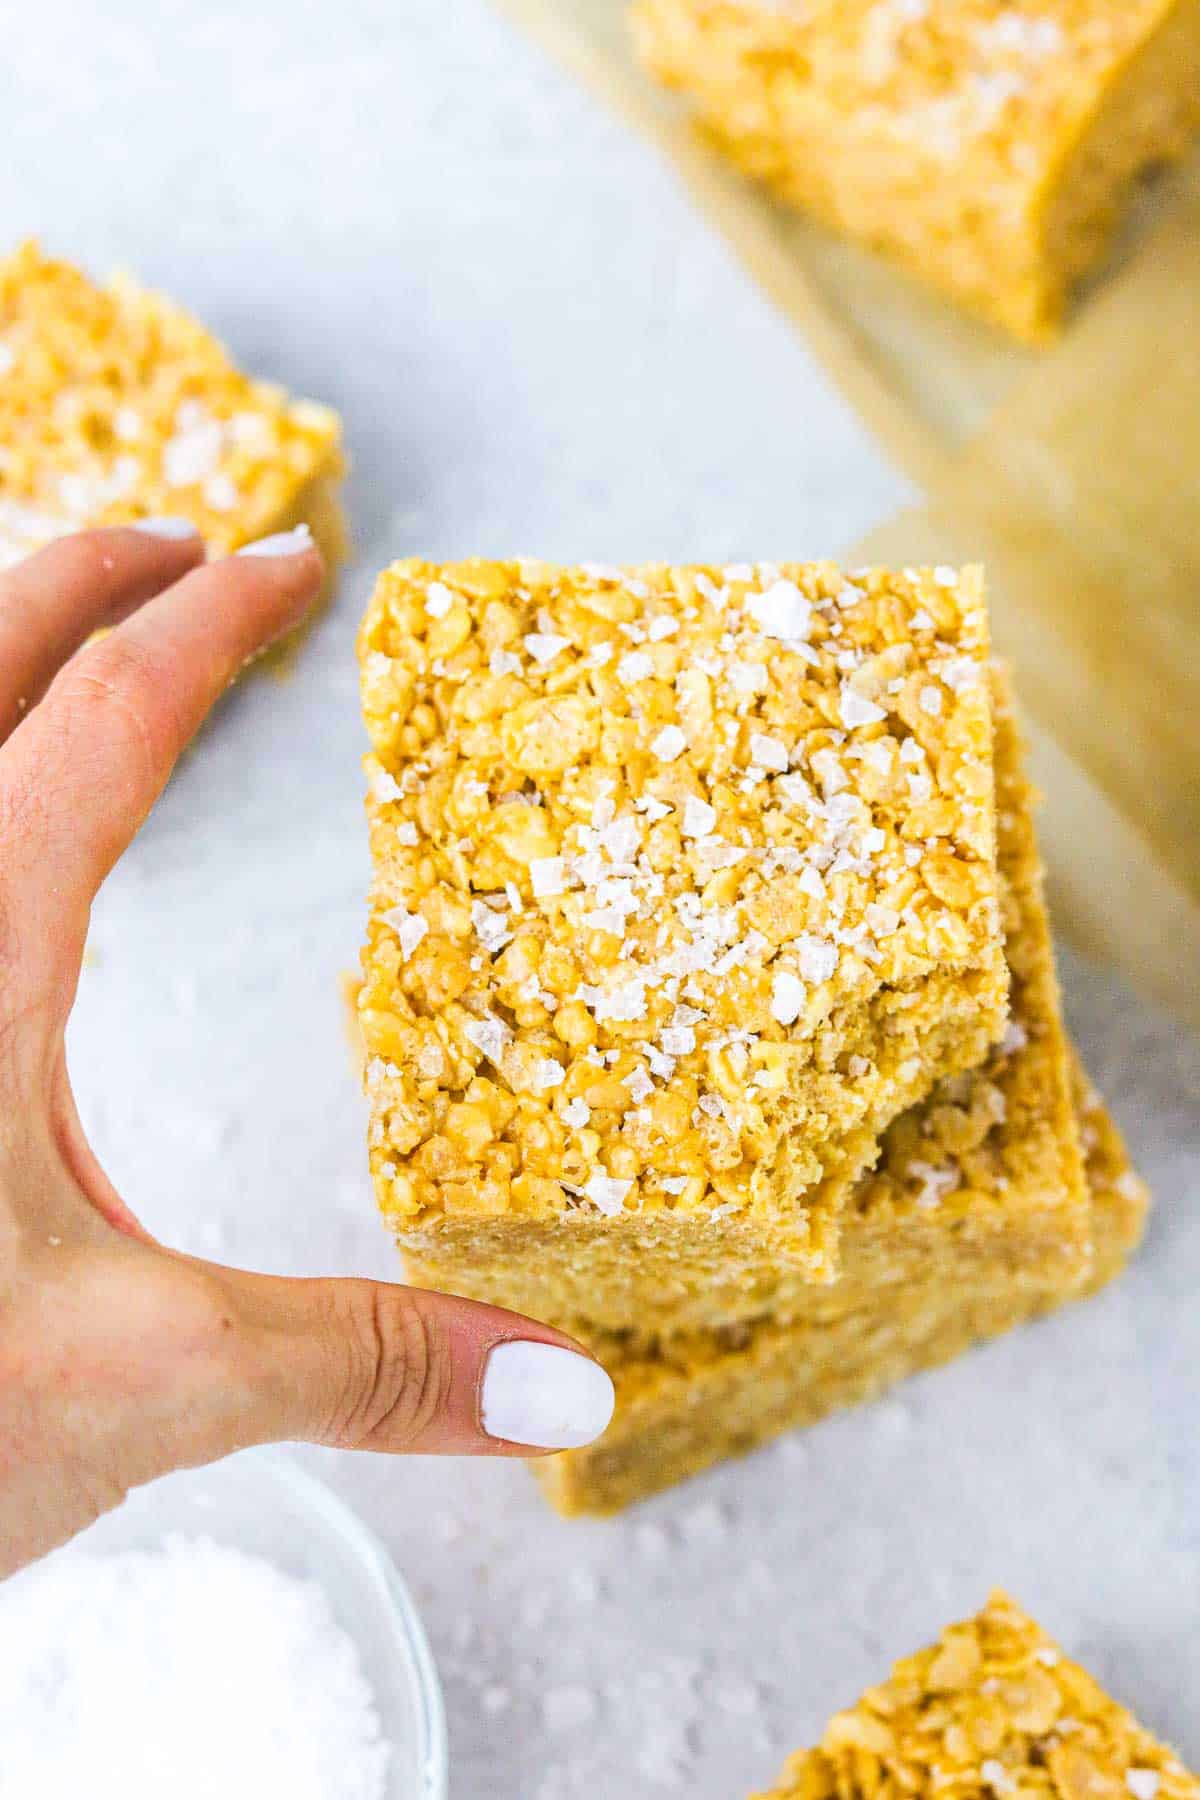
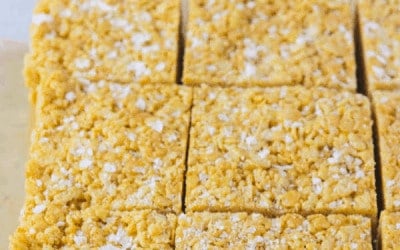
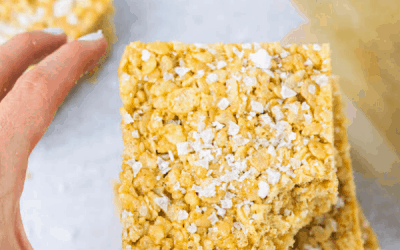
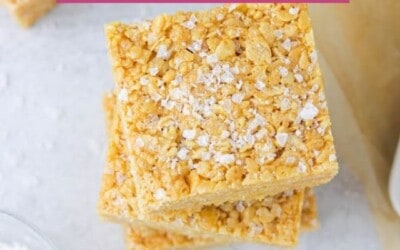
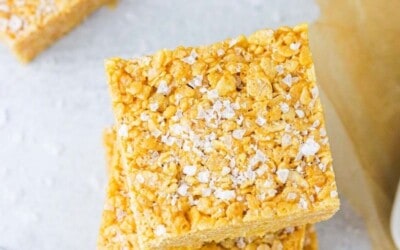
Plus, when you top them with a little flaky sea salt (totally optional, but recommended!) they feel like a super fancy delicacy. A true grown-up peanut butter rice krispie treat!
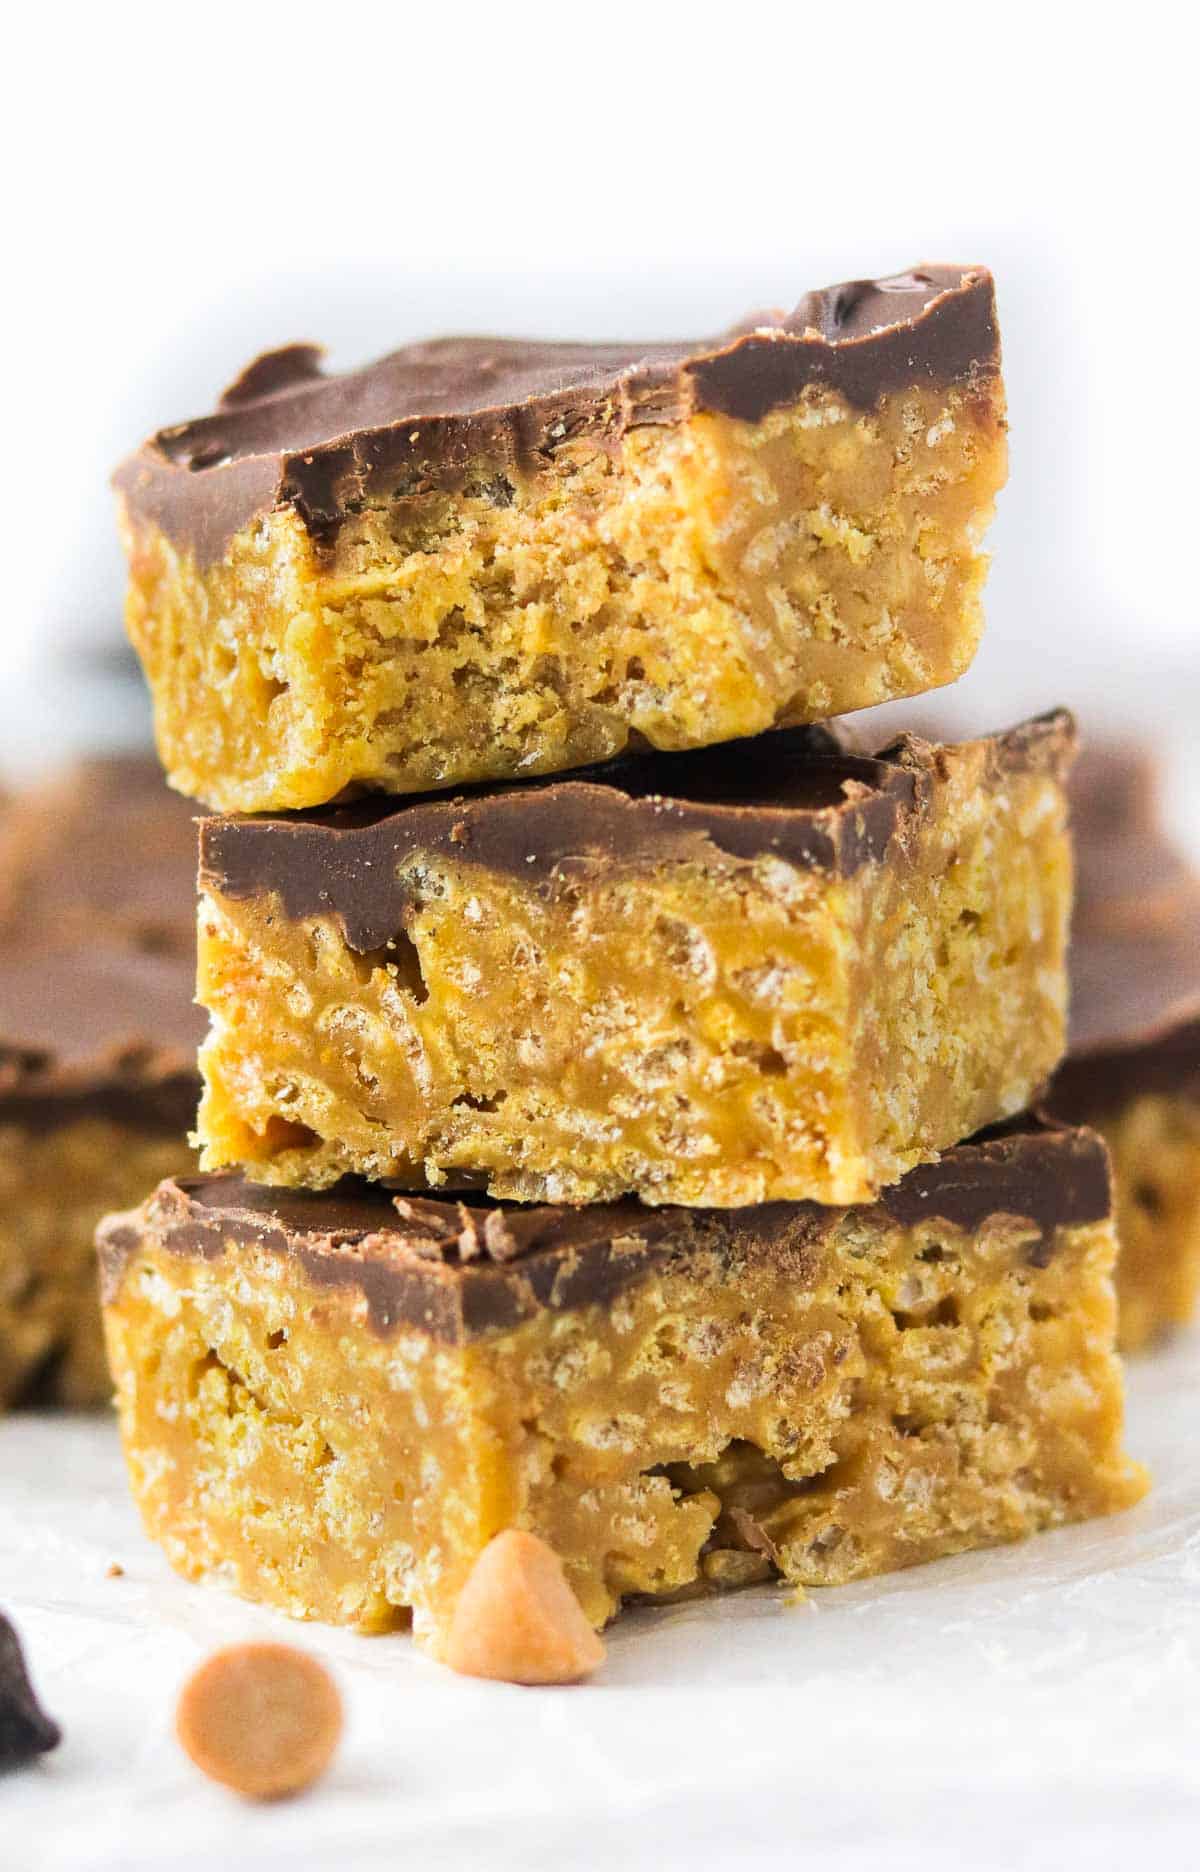
Peanut butter rice krispie treats are like an easier version of my “scotcheroos” or “Special K Bars” recipe. Except those bars are made with slightly different ingredients and have layer of chocolate butterscotch on top!
And, I’ll also just tell you right now, if you’re here because you’re a peanut butter lover like myself, you MUST try my small batch peanut butter cookies and my chewy almond flour peanut butter cookies!
Ingredients Needed For This Recipe
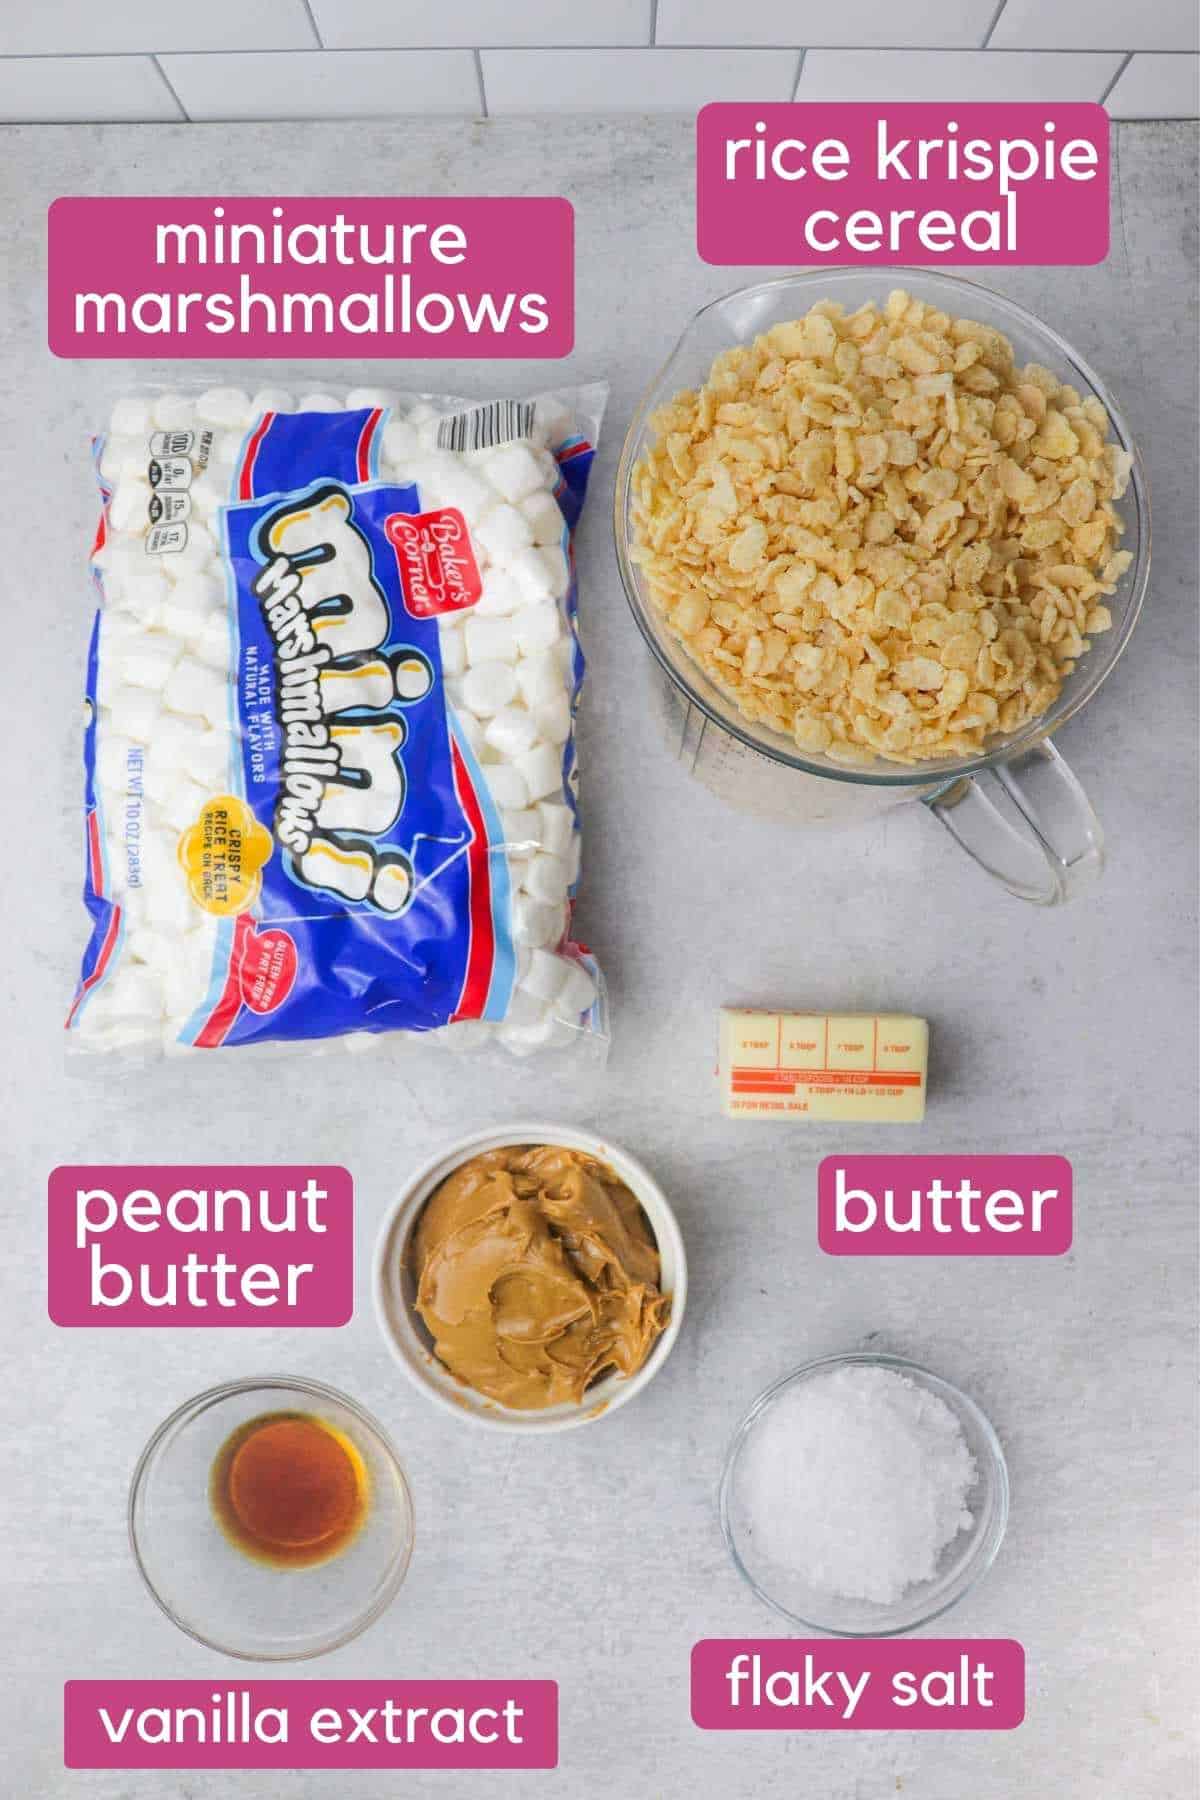
- Peanut Butter: I usually use JIF-style peanut butter for these peanut butter rice krispie bars. It’s thicker and will have more “hold”. You can use natural peanut butter but depending on how runny yours is they might not be as hard of an end result. (If you’re wondering what the difference between these two are checkout my blog post on peanut butter with and without palm oil... i.e. the JIF stuff VS natural!)
- Rice Krispies: You’ll need about 7 cups of rice cereal to make these yummy treats, which is a little less than what is in a 12 oz box, but a little more than what you get in a 10oz box.
- Mini marshmallows: These melt easier than the full size, and they are totally cute too! You’ll need a full 10oz bag to make this recipe.
- Flaky salt: Want to get a little fancy? Well, I highly recommend the addition of some flaky salt for that yummy sweet + salty flavor combo.
- You’ll also need some butter and vanilla extract. Easy peasy!
How To Make Peanut Butter Rice Krispie Bars
Step One: First, lightly spray a 9×9 baking pan with non-stick spray, then create a “sling” with parchment paper (good visual of how to create a parchment paper sling here) and then lightly spray again with parchment paper. This will ensure that your peanut butter rice krispie bars come out nice and easy!
Step Two: Now, in a large pot melt the butter and peanut butter together, stirring until smooth and uniform.
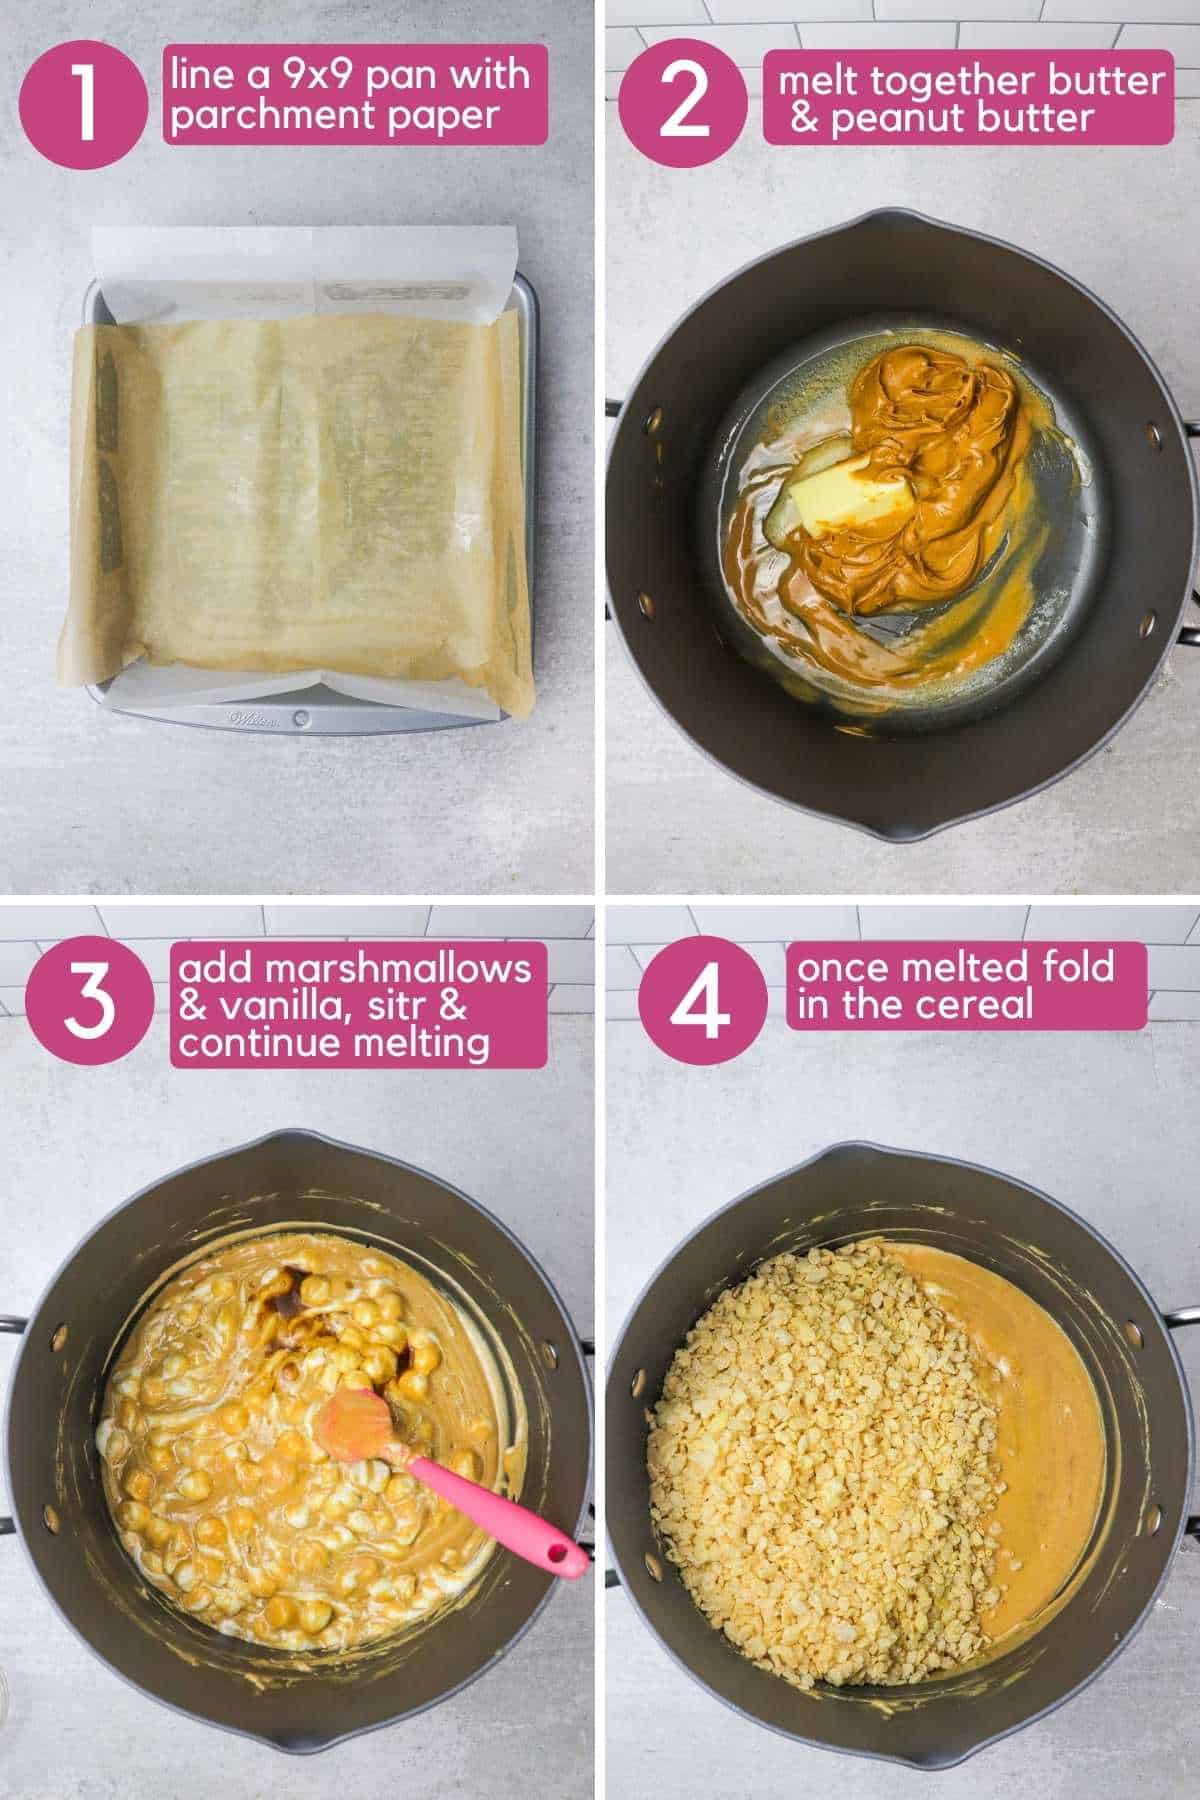
Step Three: Once the butter and peanut butter are smooth and uniform, add in the marshmallows and vanilla extract. Stirring continuously to help them melt.
Step Four: Once your marshmallows are melted, remove from the heat and add in the Rice Krispie cereal.
Fold your cereal into the warm peanut butter marshmallow mixture. Continue folding until it is evenly coated. Be careful not to do this too aggressively, you don’t want to totally crush your Rice Krispies!
Step Five: Pour your warm, coated cereal mixture into the prepared baking dish and press down lightly so they are in one even layer.
Step Six: If desired, top with a pinch of flaky sea salt and lightly press down over the top of the bars, so the sea salt sticks.
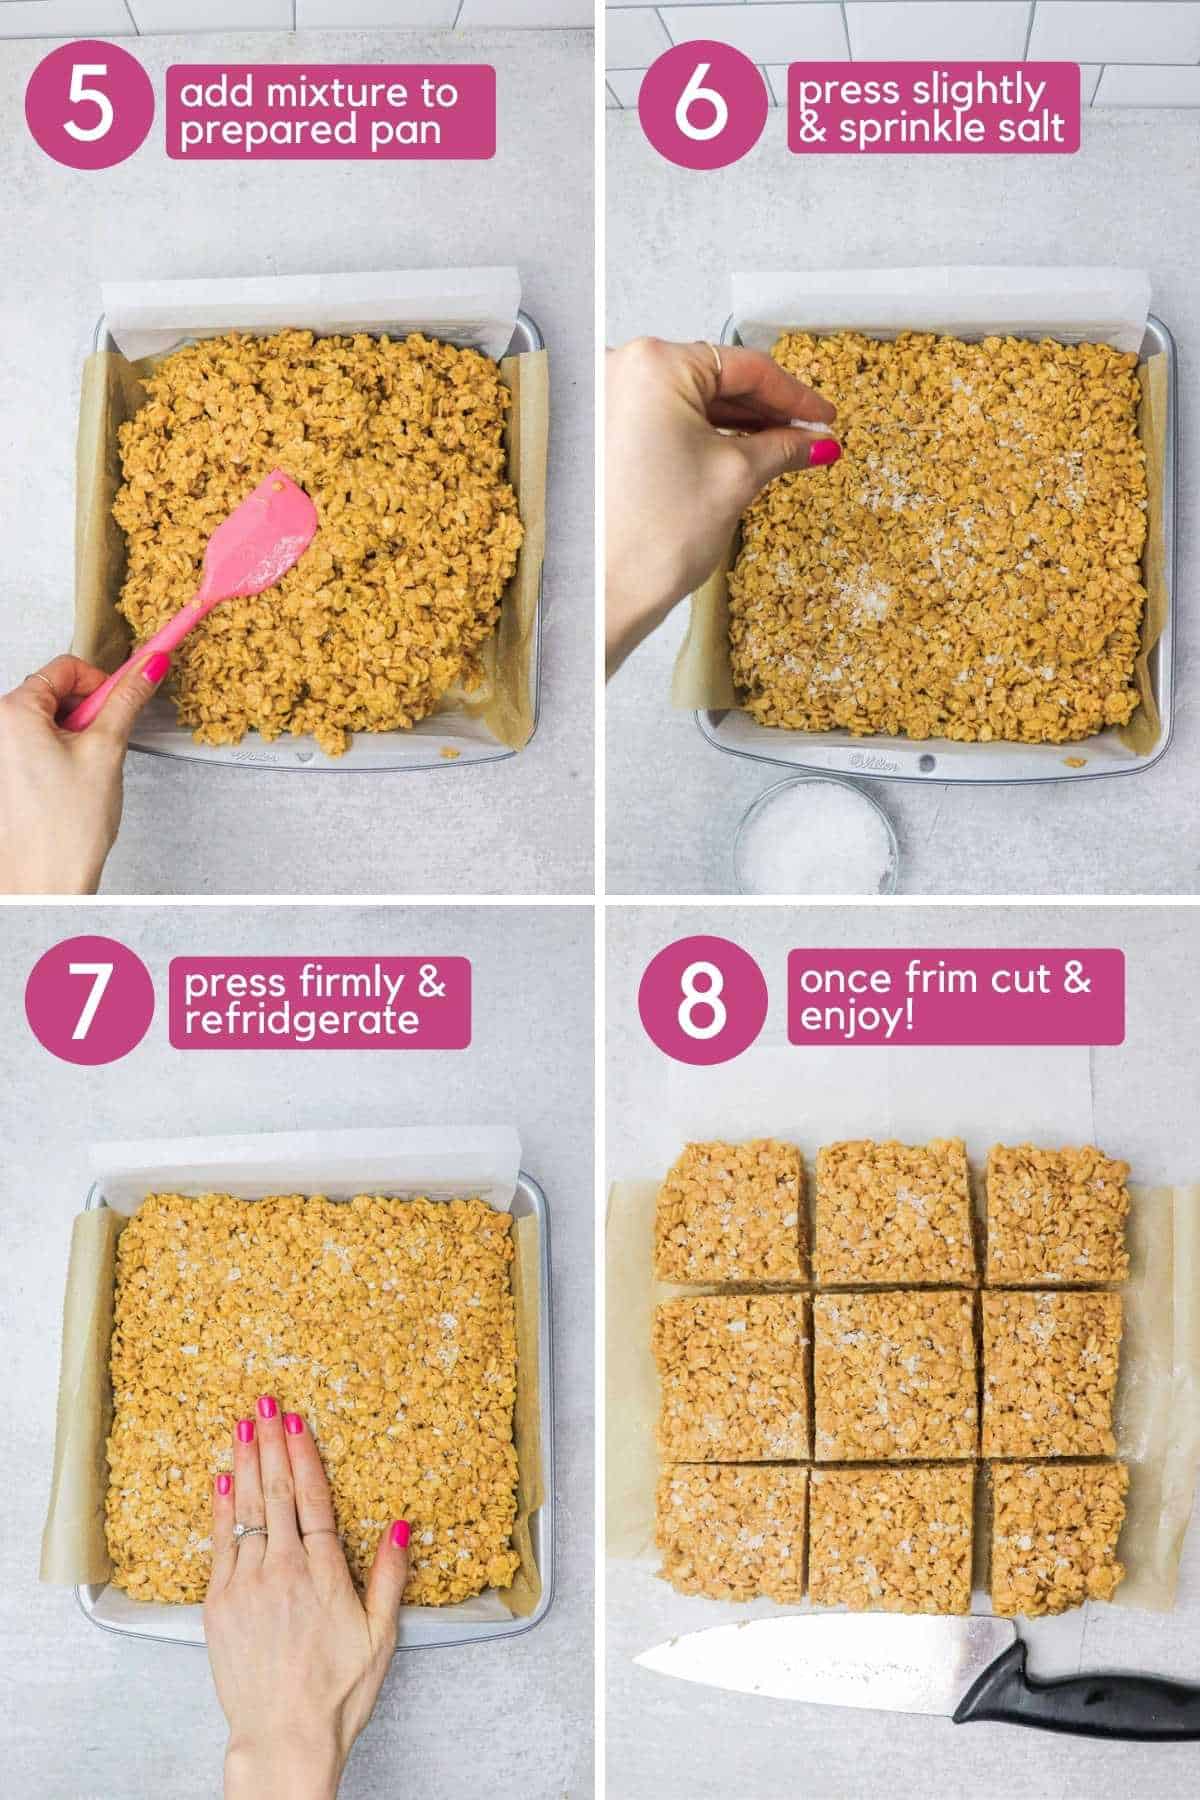
Step Seven: Once your bars have been pressed lightly into the pan, allow them to cool completely in the refrigerator.
Step Eight: Once the bars are cooled, spray a large knife with non-stick spray and cut your peanut butter Rice Krispie treats into bars. I like to make mine nice and big, so I cut them in to 9 squares, but you can totally do smaller! Enjoy!
Substitutions and Variations
Other types of cereal: Well, they aren’t really Rice Krispie treats if you don’t use Rice Krispies, are they? But you can absolutely get creative and make some seriously fun cereal treats! I love doing Captain Crunch or Cocoa Pebbles, but I bet corn flakes would work super well too!
Vegan options: If you want to sub out the butter you could try coconut oil. I haven’t tested this but I bet it would work. You can also find vegan marshmallows, like the ones from Trader Joe’s! Then, obviously check your cereal to make sure that is vegan, whatever kind you decide on!
Natural peanut butter: You can definitely use natural peanut butter! Keep in mind that since natural peanut butter has great variations when it comes to consistency, your bars could not be quite as firm if your brand happens to be on the runny side.
Frequently Asked Questions
Store your bars in an airtight container for 5-7 days. If you want a longer storage time, you can totally also throw them in the freezer for a few months, however mine never make it that far. HAHA!
Your Rice Krispie bars may get too hard if you cook your marshmallows for too long, OR if you press the coated cereal into the pan too firmly. For the best results, make sure to remove your marshmallows from the heat as soon as they melt, and use a light hand to press the bars into the pan.
The easiest way to cool your treats before slicing is to place them in the refrigerator, but once they are cut into bars, you can store them on the counter. Storing your bars in the fridge will make for a longer storage time, and they will be much firmer. If you like a slightly gooey bar, leave them on the counter.
They should last for up to 1 week in the fridge, but they will start to get hard after day two. For the best results and the softest texture, eat them within 2 days. They will still be perfectly fine to eat up to 1 week after storing, but they will become increasingly firm.
Expert Tips
To make your peanut butter rice krispie treats into SUPER clean squares here are a few tips & tricks I’ve learned:
- Be sure you allow them to FULLY harden before cutting. You can pop them in the freezer for 20 minutes if you’re impatient- just don’t let them totally freeze!
- Use a VERY sharp knife when cutting
- Spray your knife with non stick spray between each cut! Really, it works!
If you love this recipe, be sure to leave a star rating on the recipe card and leave a comment below!
Don’t forget to pin it on your Pinterest board for later, or tag me on IG @no.food.rules if you try the recipe and love it!
XOXO
-Colleen
Salted Peanut Butter Rice Krispie Bars
Ingredients
- 7 cups Rice Krispie Cereal Original
- 1/4 cup butter
- 2/3 cup creamy peanut butter
- 1, 10 z bag marshmallows ideally mini marshmallows
- 1 tsp vanilla extract
- Pinch of flaky sea salt optional
Instructions
- Prepare a 9×9 baking dish by first spraying with non-stick spray, then lining with 2 pieces of parchment paper to create a "sling" (You will cross these over each other) and then spray again lightly with non-stick spray.
- In a large pot melt the butter and peanut butter together.
- Then, add in the marshmallows and vanilla, stir continuously allow them to fully melt.
- Next, fold in you Rice Krispie cereal and continue doing so until it is covered evenly. Be gentle, as to not crush the cereal.
- Pour your warm Rice Krispie mixture into your prepared baking pan and press down lightly.
- Top with flaky sea salt and press down gently again so that it sticks.
- Place your treats in the fridge for 1+ hours until firm.
- To cut, spray a large knife with non-stick spray and cut into 9 squares. May cut into smaller bars, if desired.
- Enjoy!




Sarina Moller says